Easy Cheese Crisps Recipe
Easy homemade cheese crisps are a cheese lovers dream! This crunchy snack only needs one ingredient and it’s the perfect pairing for wine or salads. Start with cheddar or Parmesan cheese for a keto friendly snack for happy hour, ladies night, or anytime snacking.
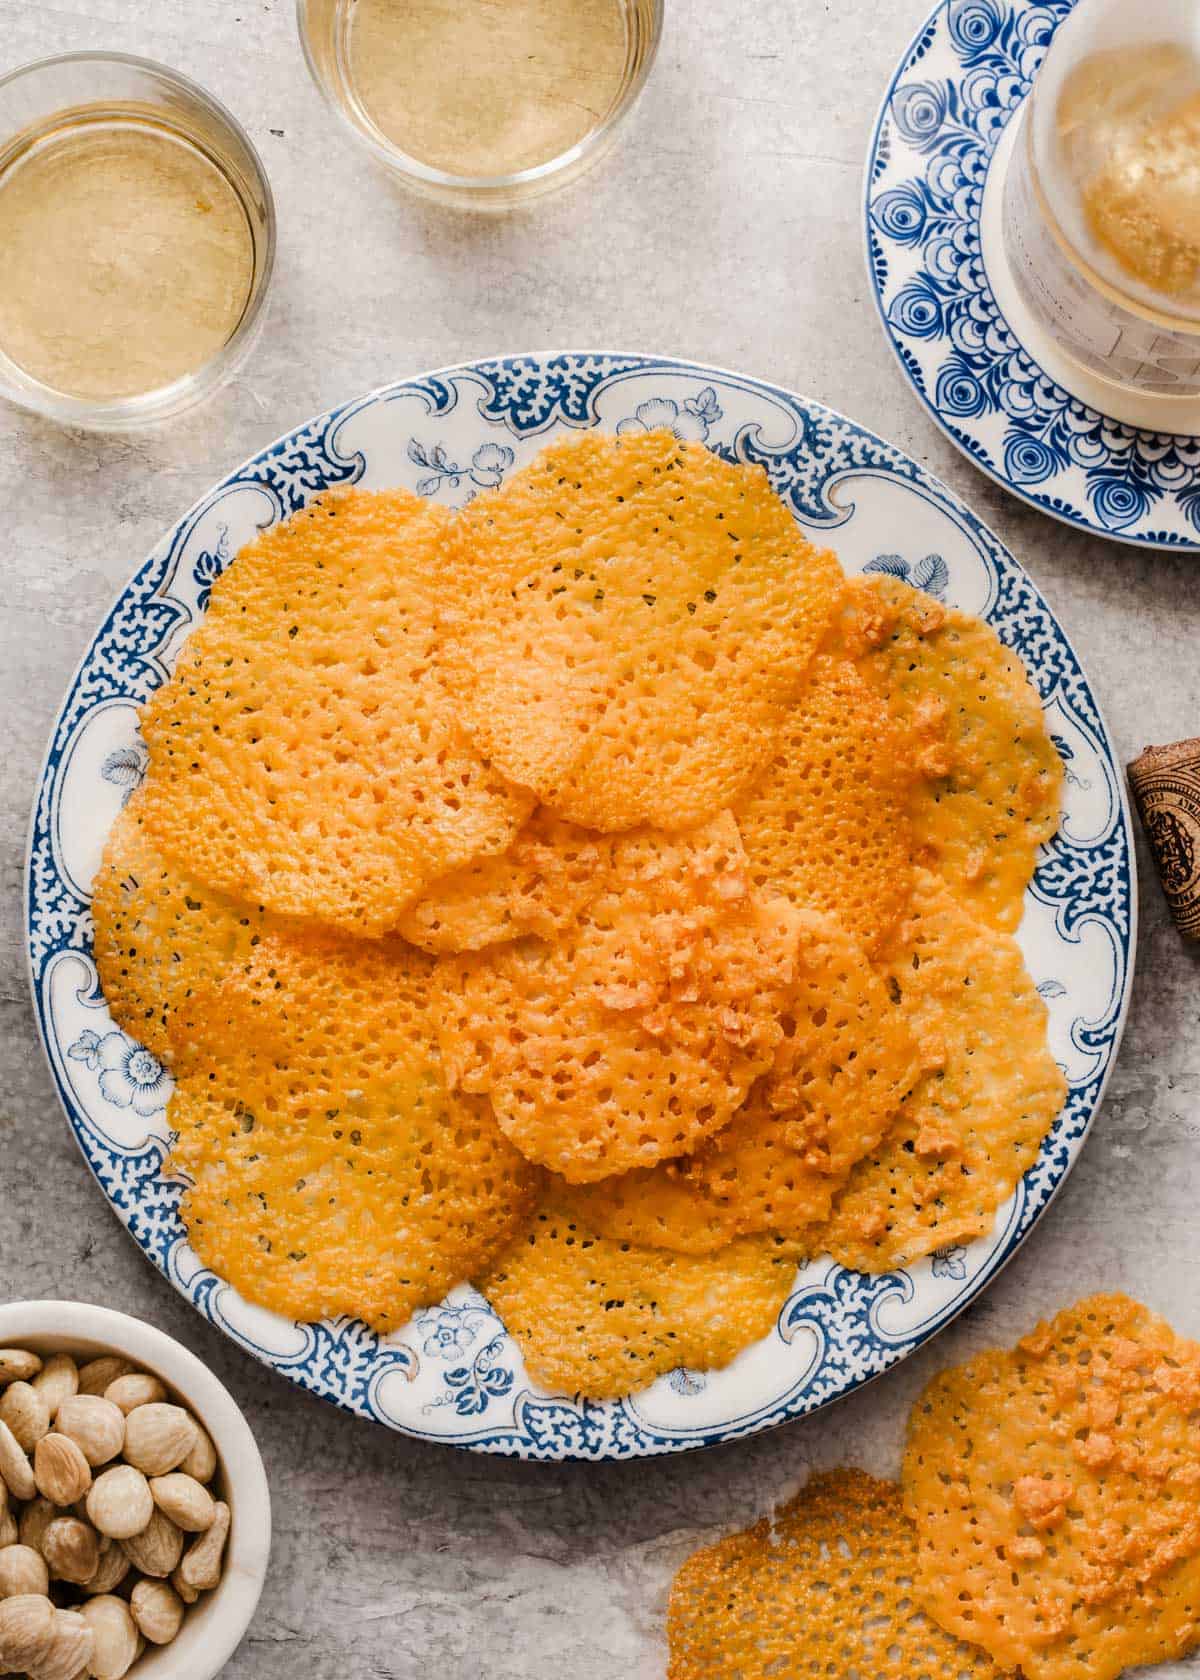
Crispy cheese fricos are an easy and versatile snack that you can serve with wine for a wine and cheese party, add them to a charcuterie board, or serve as an accompaniment for soup or salad.
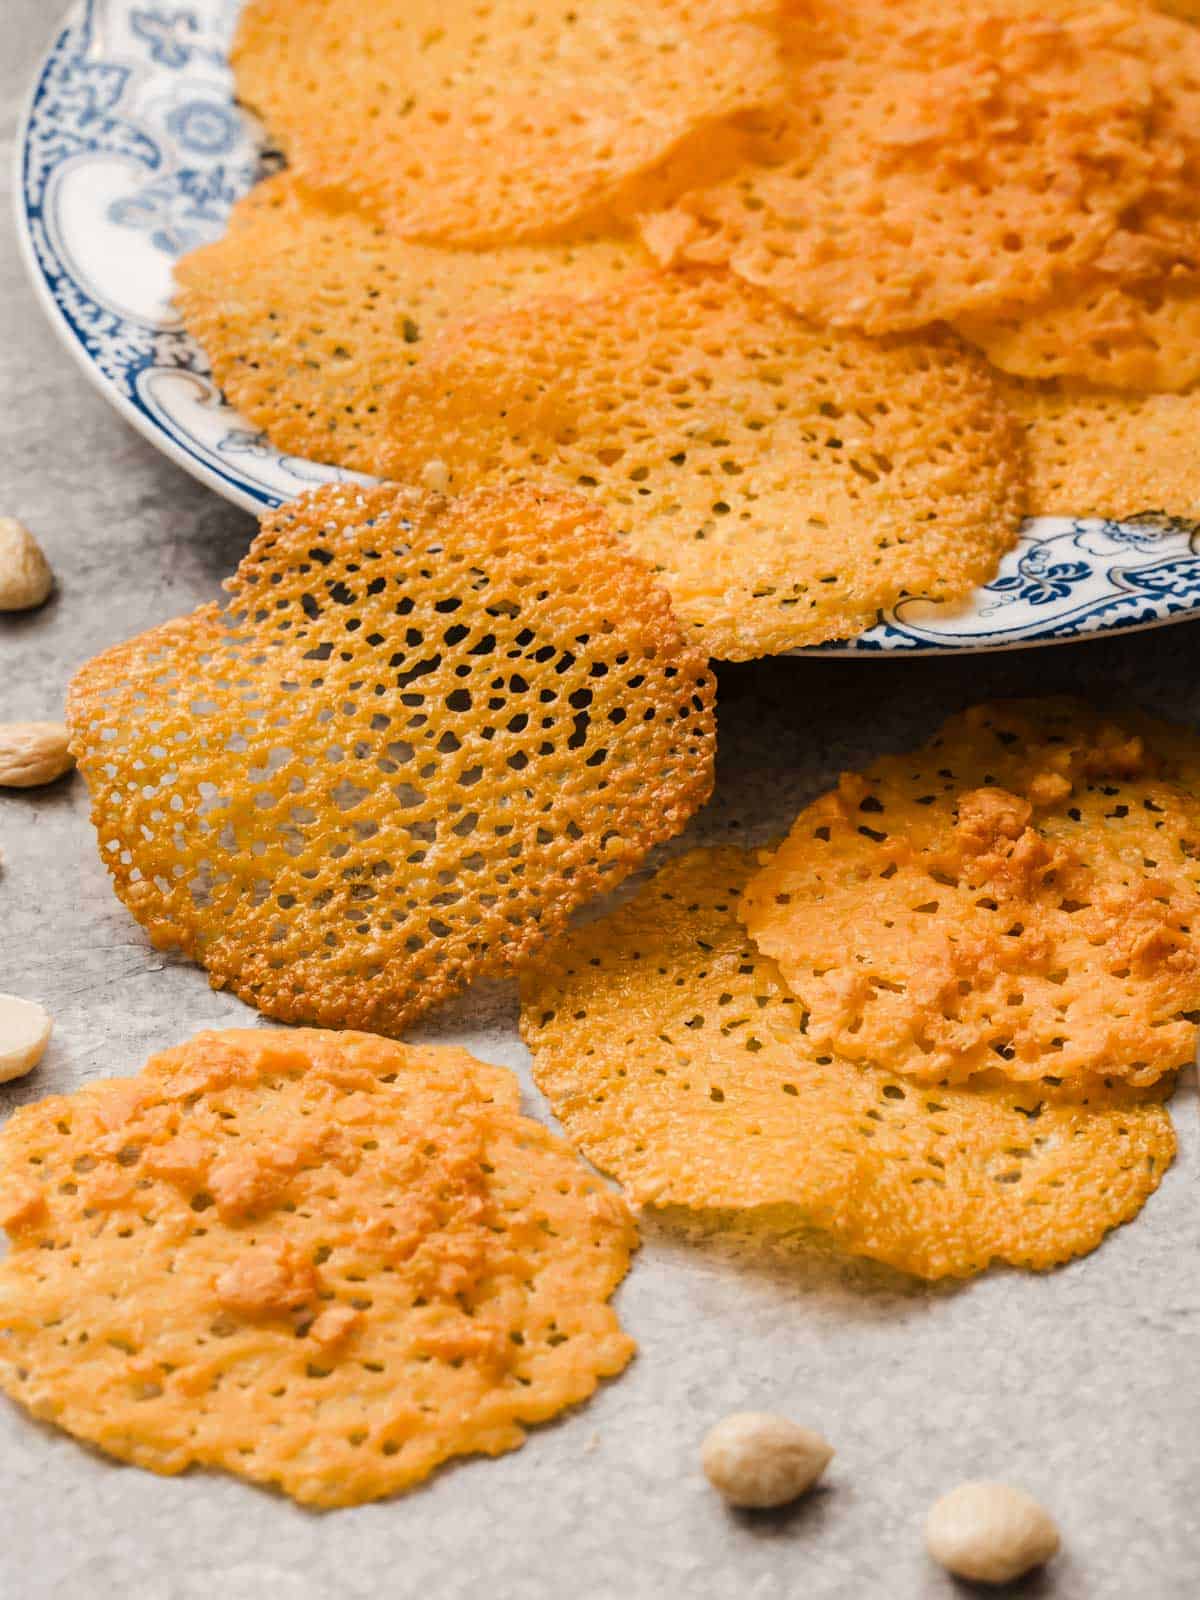
They bake up thin and lacey as the cheese melts and spreads out. When they cool they become crisp and crunchy! You only need one ingredient; most commonly freshly shredded cheddar cheese or Italian parmesan, but I’ll also share ways to upgrade them.
Ingredient Notes
- Cheese. I used extra sharp chaddar here, but Colby Jack is also great. Grab a block of it because you’ll have to grate it yourself. Grated Parmesan is also excellent and actually cooks up crisper because it’s a drier cheese. You can also try it with Pepper Jack, Monterey Jack, or Asiago, but always grate it yourself.
- Optional, Cheese Nips or Cheez Its. I saw this special ingredient added on an episode of Chopped. They give extra crunch and depth to homemade fricos.
How to Make Cheese Crisps
- Use a grater to shred the cheese and place small piles into a circle on a baking sheet. Spread out the pile of cheese evenly so the middle is a little thinner than the edges.
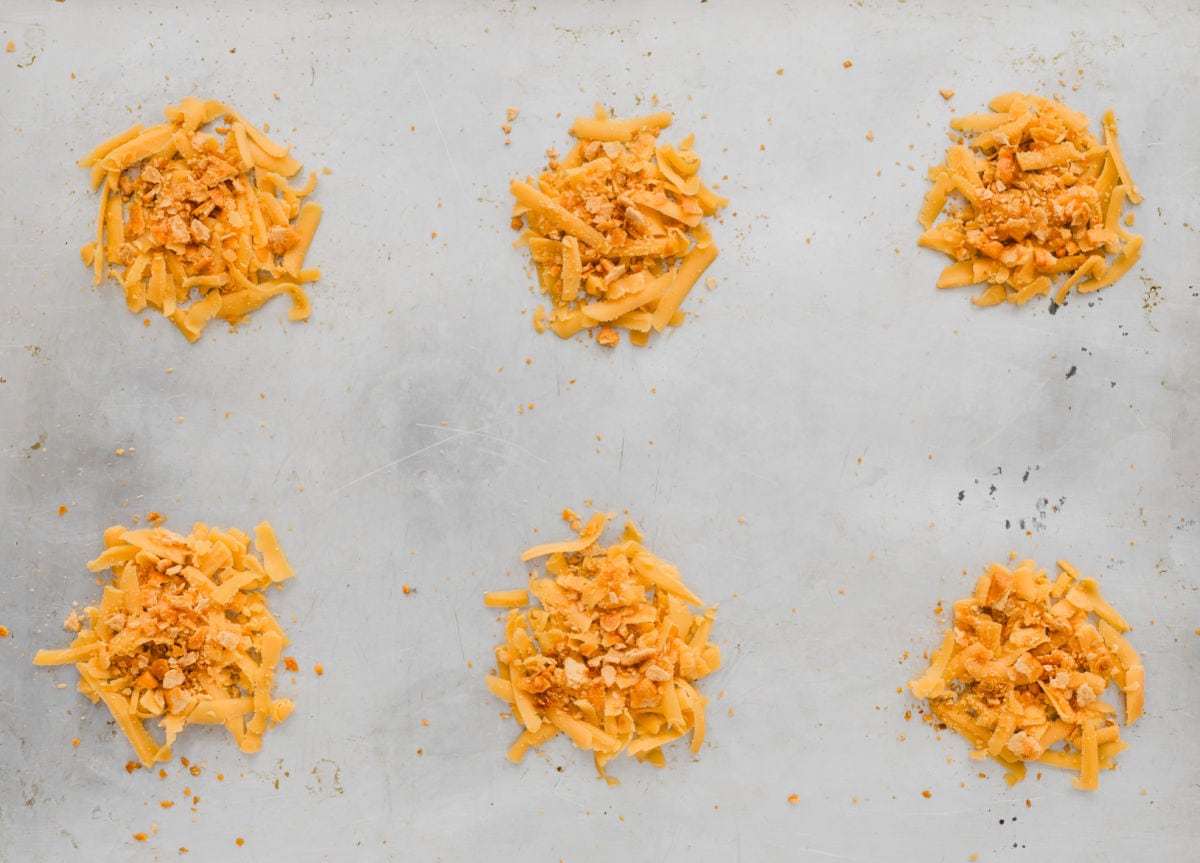
- If you want the variation, crumble 1 or 2 cheese crackers over each of the shredded cheddar circles.
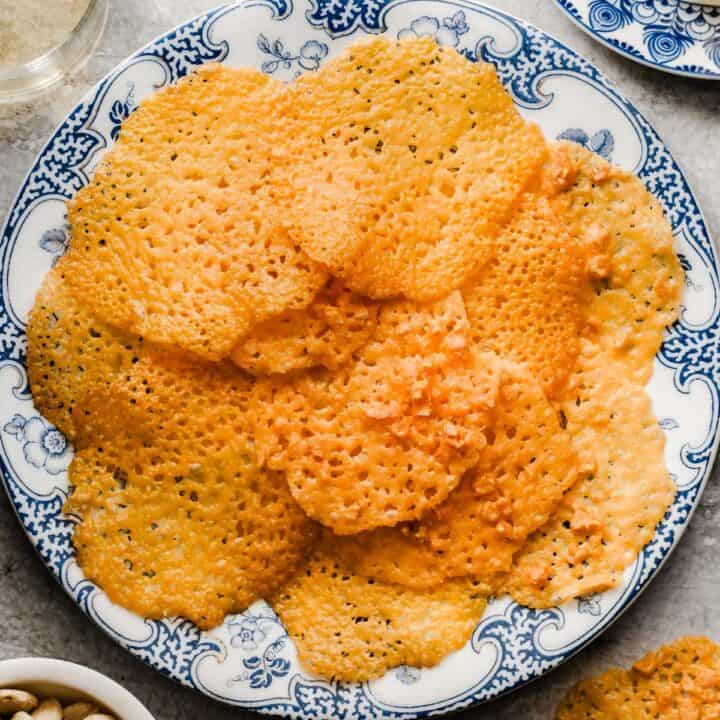
- Bake until they turn golden brown in order for them to get crispy. If you take them out too soon they will be chewy.
- Use a paper towel to dab off visible oil from the cheese crisps. Let them cool for about 1 minute on the pan and then remove carefully with a spatula onto another paper towel to dab off the bottom side. Allow them to cool completely on a cooling rack for about 15 minutes.
Storage
Allow the crisps to cool completely before storing them in an airtight container. Keep at room temperature for about 5 days.
Helpful Tips
I find that making the rounds smaller makes them cook up crisper. So if you’re serving these as snacks, keep the shredded cheese scoops to about 1-inch in diameter.
When placing the shredded cheese circles on the baking sheet, make sure there’s plenty of space between each one because they will spread out as they cook.
To help with crispness and uniformity, keep the center of the cheese circles a little thinner while the outer area can be a bit thicker. This helps them cook more evenly.
Allow the crisps to sit on the baking pan for a minute before moving them to a cooling rack. That way they are easier to transfer without breaking.
Dab the top and bottom of the baked cheddar crisps with a paper towel to remove excess oil. Parmesan crisps don’t get as oily when they cook so you may be able to skip that step.
Watch them closely in the oven to make sure they don’t burn. All ovens cook differently so try a test batch first and adjust the time or temperature accordingly to find the sweet spot.

How to Make a Cheese Bowl
As I mentioned above, these are fabulous when served with soup or salad. Turn them into edible salad bowls with just a couple of easy tricks, and serve them at a ladies luncheon.
- Follow the directions for making the cheese crisps, but make the circles of shredded cheese about 2 ½ inches in diameter. For the bowls, you can make the circles more uniform in thickness rather than making them thinner in the center.

- Once you’ve baked the cheese, let them sit on the hot pan for at least 30 seconds, then lift with a spatula and lay them over an upside down muffin tin. You can gently press the sides down to create a bowl.
- Once they’re cooled completely, lift the cheese bowl and serve a salad inside. This spinach and arugula salad with tomatoes and goat cheese is the perfect combo.
More Cheese Appetizers
If you can’t get enough cheese or you’re looking to add something to your cheese board, try adding these easy 2-ingredient cheese hors d’oeuvres, or for a little extra add ham, cheese and fruit kabobs.
These cheddar cheese coins are like savory shortbread crackers in texture, and they go great with a glass of wine. Another baked option, but quicker and easier, are ham and cheese phyllo cups.
And you can never go wrong with homemade pimento cheese spread as a party dip.
These cheese crisps are little bites of heaven, and you probably have the ingredients on hand to make them!
If you like this post, PIN, Share, or sign up for our Newsletter at the top of the page. And don’t forget to follow CAH on Instagram or Facebook. Cheers!
Easy Cheese Crisps (Keto) recipe
Homemade cheese crisps are thin, crunchy, and lacey and are a great addition to wine, soup or salad. Make them ahead for a keto-friendly snack for parties.
Ingredients
- 1 (8-oz) block Extra Sharp Cheddar Cheese or Parmesan Cheese
- Optional: 1 package of Cheese crackers (Cheez It or Cheese Nips)
Instructions
- Pre-heat the oven to 375º F.
- Use a grater to shred a block of cheese and place small circles on a baking pan, about 1 to 1 ½ inch in diameter. Spread out the pile of cheese evenly so the middle is a little thinner than the edges. Make sure there's plenty of space between each circle so they have room to spread.
- If desired, crumble 1 or 2 cheese crackers over each of the cheese circles.
- Bake for 5-7 minutes or until melted and lightly browning. They need to bake until they turn golden brown in order for them to get crispy. If you take them out too soon they will be chewy.
- Let them cool for about 1 minute on the pan and remove carefully with a spatula onto a cooling rack. Dab them with a paper towel to soak up excess oil and let them cool completely until crisp.


Thank you! I made them when we had a river day this weekend, bigggg hit!! They were so easy and very tasty.
Great! Thanks for the feedback, Amber. So glad they were a hit.
How long can these delightful crisps be stored at room temp?
Janie, they are fine for a few days, although I recommend making them fresh (only the amount you’re going to eat). They lose their crispiness over time.
Thank you for your help. I made the crisps yesterday for tonight’s party, and they are still crisp. If we eat all of them, there is no worry about how long they’ll last. Yummy!
Great! Glad to hear it Janie!
These sound amazzzing!!! I really want to make them but I do have a question; would using pre-shredded cheese be a problem?
Amber, for this I wouldn’t use the pre-shredded. It has a coating on it that prevents it from melting really nicely like you want.
I don’t love grating cheese either, but for these you don’t have to be specific with measuring so it’s really easy to do. 🙂
can you use cheez-it’s instead of nips?
Alexandra, yes, that would be just fine.
You may have just ruined my diet.
I know, Kole! I have to stop myself from making them too!
I LOVE that show too… and my husband always asks why I watch it. I think it is the mystery of what they are going to make or come up with.
Exactly! And I’m always amazed at the dishes they come up with.
This is such a simple, neat way to satisfy your friends’ taste buds! It saves time, and money! Great idea! 🙂