• Skip to primary navigation
  • Skip to main content
  • Skip to primary sidebar
  • Skip to footer
  • Blog
  • Entertaining
    • Dinner Party Menus
    • Themed Dinner Ideas
    • Tablescapes
      • centerpieces
      • floral
      • candle
    • Cocktail Parties
    • Buffet tables
    • Designing Dessert Tables
    • Tips & Tricks
  • special occasions
    • Birthdays –>
      • for Adults
      • 1st birthday
      • for Girls
      • for Boys
      • for Teens/Tweens
    • Bridal shower
    • Baby shower
    • Engagement / Anniversary
    • Weddings
  • Seasonal | Holidays
    • Winter
      • super bowl
      • Awards Night Party
      • Valentine’s Day
      • St. Patricks Day
      • mardi gras
    • Spring
      • Easter
      • Graduation
      • Cinco de Mayo
      • Kentucky derby
      • Mother’s Day
    • Summer Entertaining
      • Father’s Day
      • 4th of July
    • Autumn
      • School Days
      • Football parties
      • Halloween
    • Holidays
      • Thanksgiving
      • Christmas
      • New Years
  • by color
    • black
    • blue
    • brown
    • gold
    • gray | Silver
    • green
    • orange
    • pink
    • purple
    • red
    • white
    • yellow
    • neutrals
    • multi color
  • Food & Drink
    • cocktails & drinks
    • appetizers & snacks
    • main dish
    • side dishes
    • sweets
    • brunch
    • Food Presentation
    • the Bar
  • DIY
    • Projects
    • Printables & Freebies

Celebrations at Home

Inspiration for Stylish Entertaining

  • About
    • Disclosures
    • Privacy Policy
  • Let’s Work Together
  • Food Photography
  • contact
  • SHOP
  • Nav Widget Area

    • Email
    • Facebook
    • Instagram
    • Pinterest
    • RSS
    • Twitter

Subscribe for Email Updates

You are here: Home / DIY / Easy DIY Layered Menu Cards with Cricut

Easy DIY Layered Menu Cards with Cricut

Make these Easy DIY Layered Menu Cards that have a “secret” bonus – conversation starters! I’ll show you how here, using my Cricut machine. This post is sponsored and contains affiliate links.

Make these Easy DIY Layered Menu Cards that have a "secret" bonus - conversation starters! I'll show you how here, using my Cricut machine.

Today I’m going to show you how to make these awesome & easy diy layered menu cards I created for my summer dinner party tablescape. This is yet another version of my diy layered menu set, and most of the work is done using my Cricut Explore Air 2. I’m able to design, write, and cut all in one space.

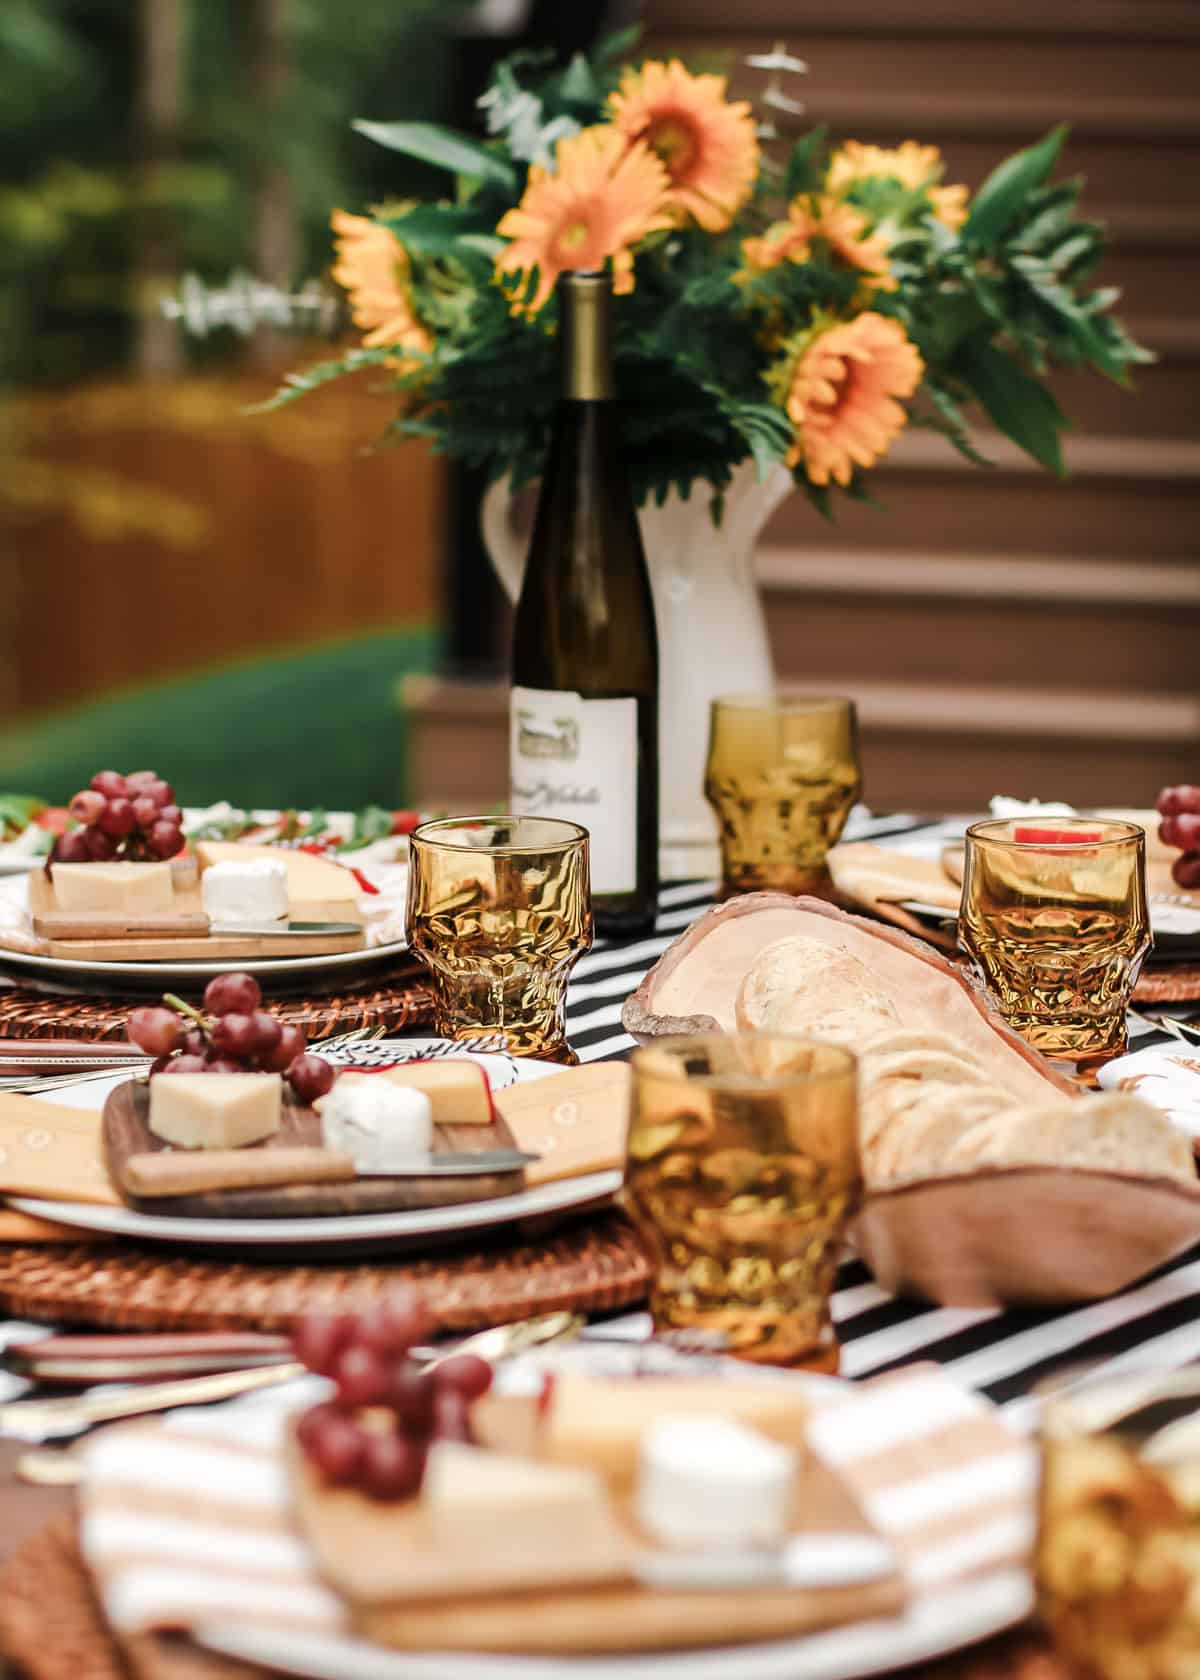
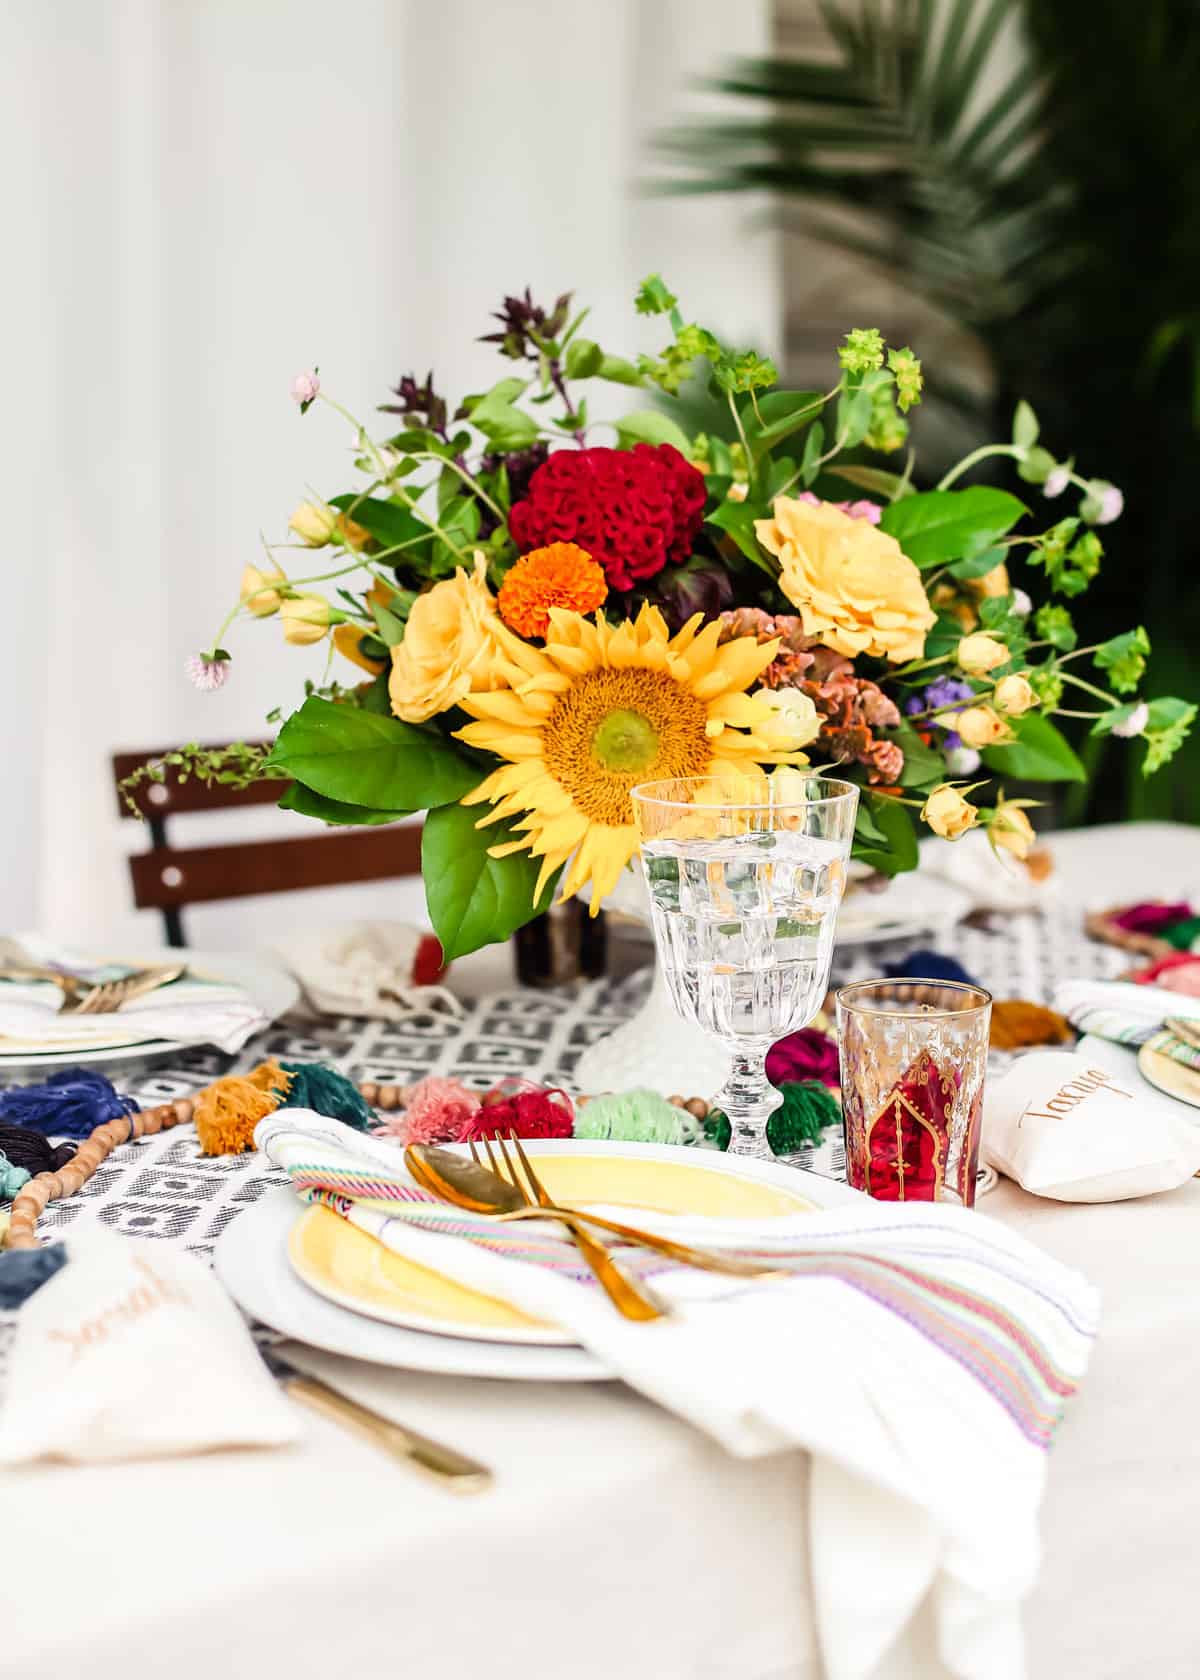
Admittedly I don’t always incorporate menu cards or even place cards into my tablescapes, but you have to agree it certainly adds an extra layer of personalization and decor to the overall look. Check out the steps below to create your own, and if something isn’t clear just drop me a comment.


What you’ll need for these easy DIY layered menu cards:

Supplies

  • Cricut Explore Air

Cricut Products

  • Cricut white card stock 12 x 12-inch sheet
  • color of your choice card stock 12 x 12-inch sheet
  • Cricut Very Berry fine point pen
  • Cricut Black 0.4 tip pen

Other

  • small hole punch
  • decorative brads

1. Log on to Cricut Design Space. For these menu cards I used the Note Card template and Calligraphy & Ballroom fonts shown above, and found here.

2. Once your’re in Design Space, add the template and add your menu text. Size your card template to 6-inches in length.

3. Write and cut your menu cards using the Very Berry fine point pen, and set aside.

4. Using the same Note Card template, create a base card 1/2 inch larger than the menu card. Add text using any of these 36 conversation starters. Write and cut using the Black 0.4 point pen.

5. Layer and center the menu card on top of the base conversation card and punch a small hole through the two pieces. Attache them together using a decorative brad.


Place your menu/conversation cards at each place setting for your dinner party guests to enjoy.

Make these Easy DIY Layered Menu Cards that have a "secret" bonus - conversation starters! I'll show you how here.

Cheers!


Follow me: Google+ | Pinterest | Twitter | Instagram


Previous: Make these Red, White & Blue Balloons Part of Your 4th of July Celebration
Next: How To Set Up A Red White Blue Ice Cream Floats Bar For 4th Of July

June 22, 2017 2:18 pm Chris Filed Under: DIY

Reader Interactions

Comments

  1. LeeLo says

    June 23, 2017 at 4:41 am

    I need a cutter like that! Lovely cards!

Primary Sidebar


The most important thing about parties & entertaining is the guest list! Next, it should be delicious, beautiful, unique, and fun. Calling on my years of experience, I’ll show you how to pull it all together with style. Cheers!

Footer

Search the Site

Celebrations At Home is a participant in the Amazon Services LLC Associates Program, an affiliate advertising program designed to provide a means for sites to earn advertising fees by advertising and linking to amazon.com. All our thoughts and opinions are our own and we are not paid for or mandated to provide a positive review.

Categories

Archives

Tags

airplanes Alice in Wonderland art backdrops bacon birds books butterflies camping carnival & circus casseroles Chalkboard Ideas cheese cocktail party cookies fairy Fiesta frames French Chic GIRLS NIGHT IN hot cocoa & COFFEE ice cream Mexican Monkeys Moroccan Movie themes nautical nesting owls picnic pizza Princess pumpkin Quotable Safari & Jungle salad shabby chic soups & chili Sports tea party trains travel Western wine Woodland

© Copyright 2018 Celebrations at Home · Scroll to TOP · Log In · Hosted by Servously