Shabby Chic Bridal Shower Ideas
The best shabby chic bridal shower ideas and decorations for a tablescape, drink station, dessert table, and more! The vintage touches and DIY elements create an inviting and personalized celebration for the bride-to-be.
I’m so thrilled with the design and decorations I created for this wedding shower. There are lots of unique and interesting DIY elements that are quite easy to do with a few supplies from the craft store.
I was inspired by the large vintage spools I found during a thrift store outing, and decided they would make fabulous decor in a party design, along with other interesting sewing details.
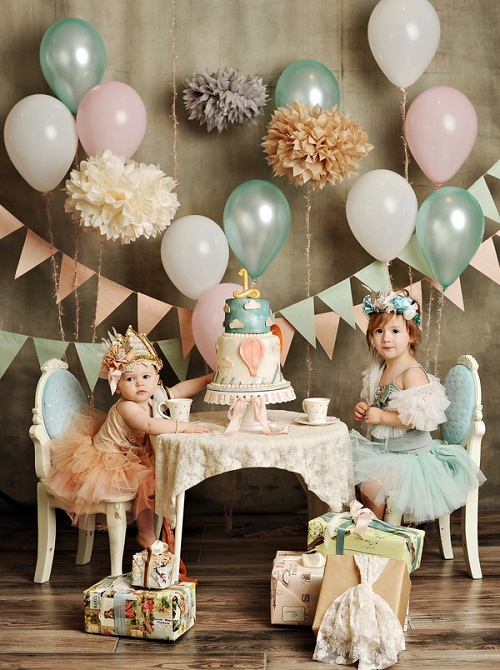
This is the perfect theme for the gal who loves shabby chic style and maybe loves to wear vintage clothing styles as well. You could even use it for a special birthday celebration, too.
Tips for Design

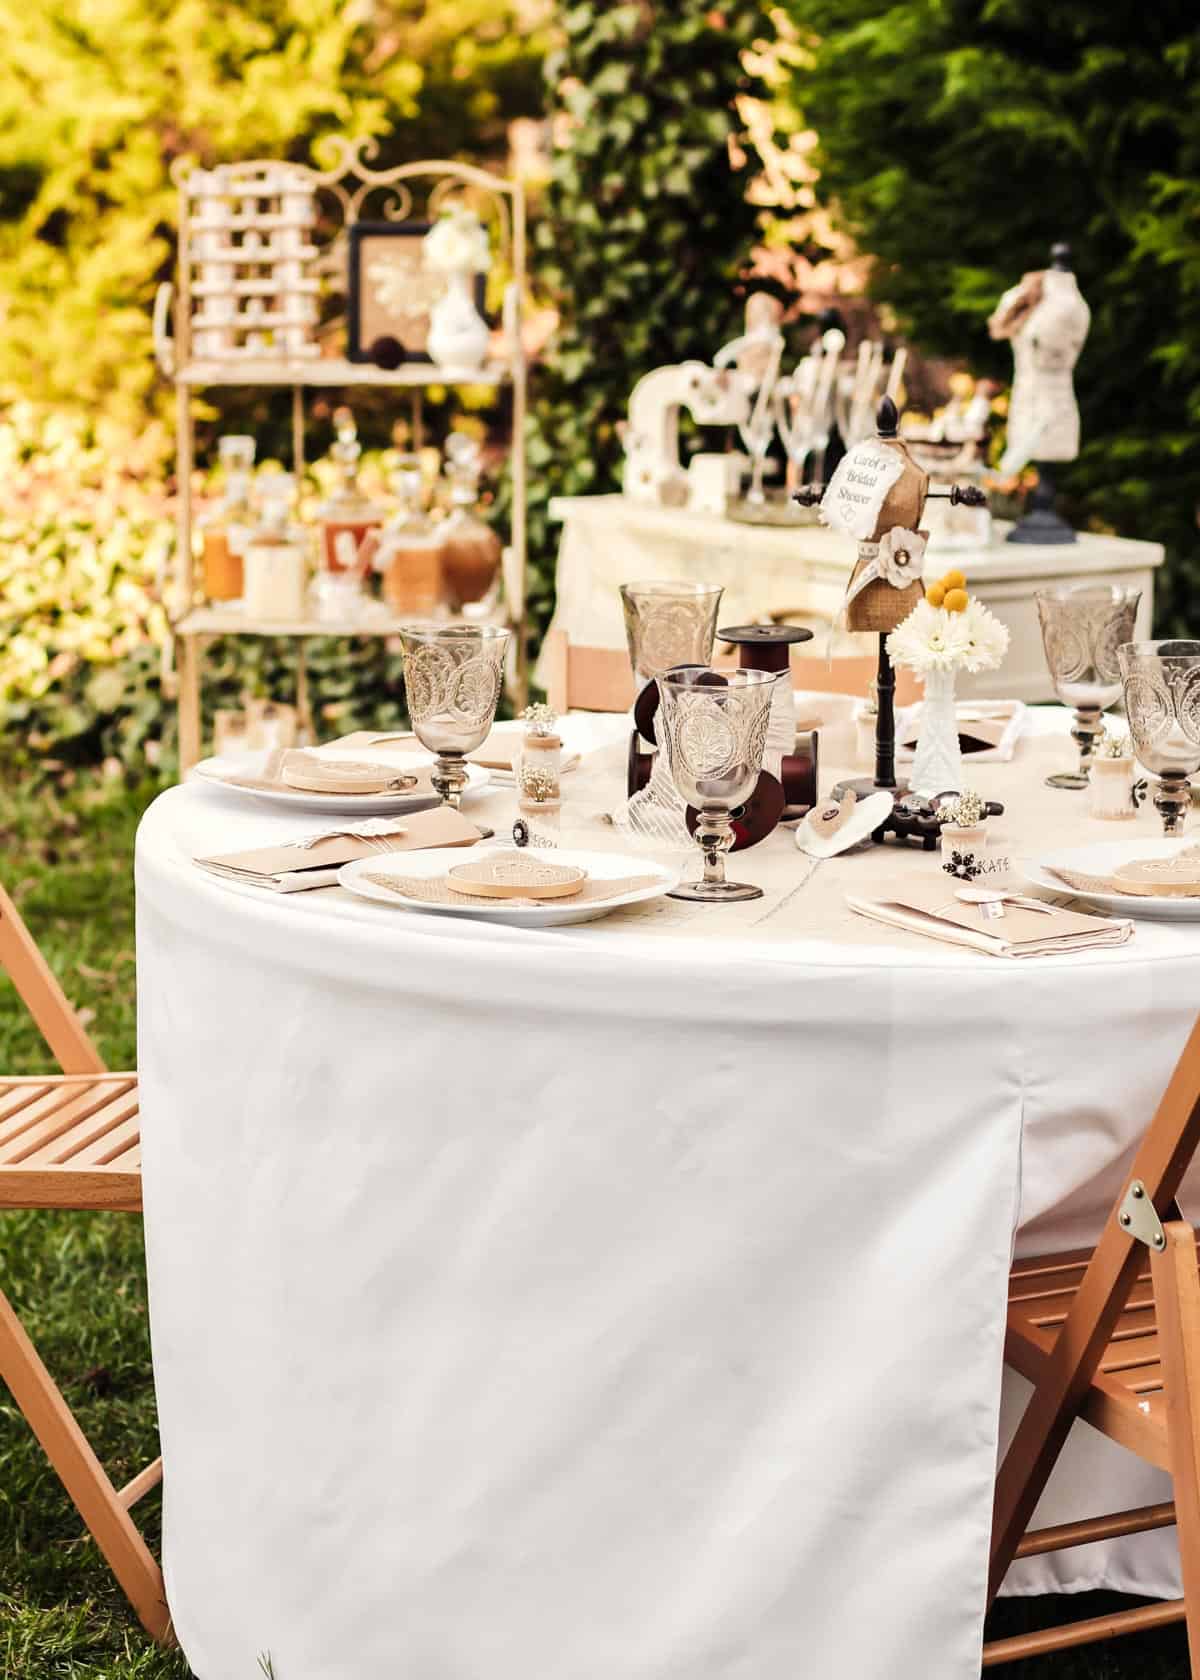
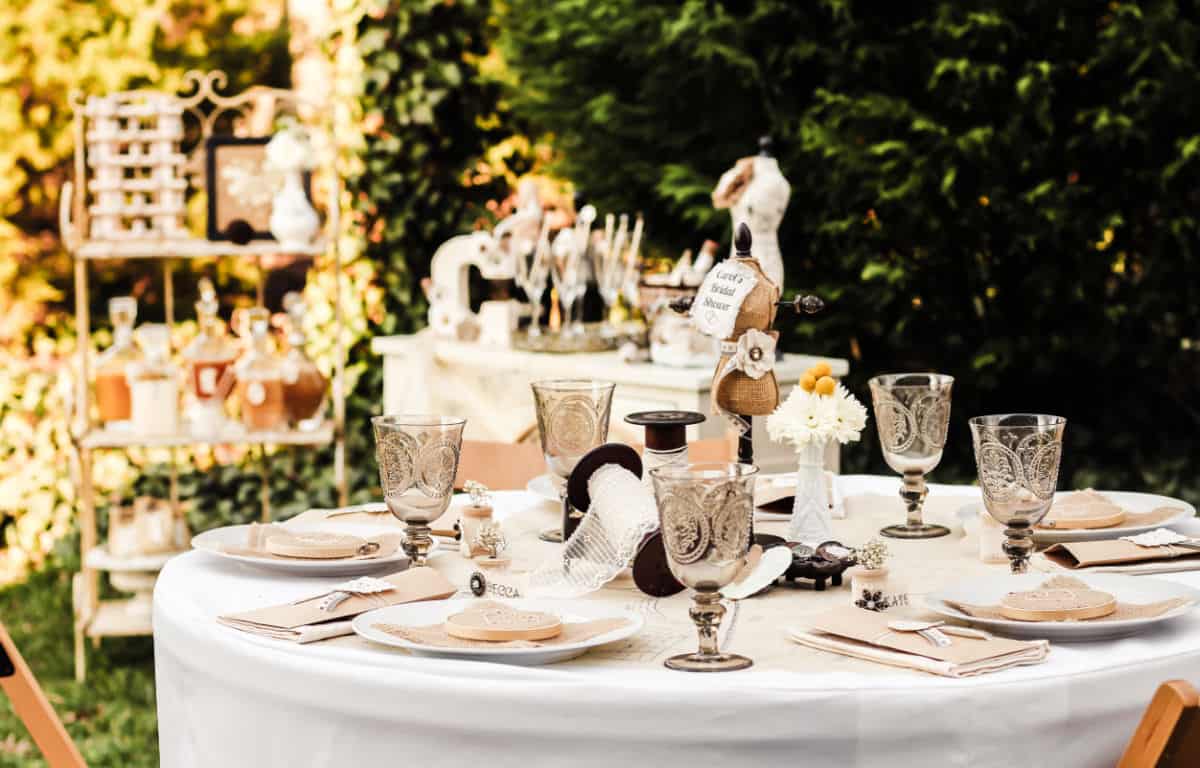
The Table
I love a neutral palette, and canvas and burlap go beautifully together. While the coloration is somewhat monochromatic, there’s plenty of texture for interest. I laid the foundation with a white fitted tablecloth which is floor length so it’s a nice clean look.
A sheet of sewing pattern paper makes an unexpected and unique table topper. The color is perfect, the theme is right on. Guests will love this interesting detail!

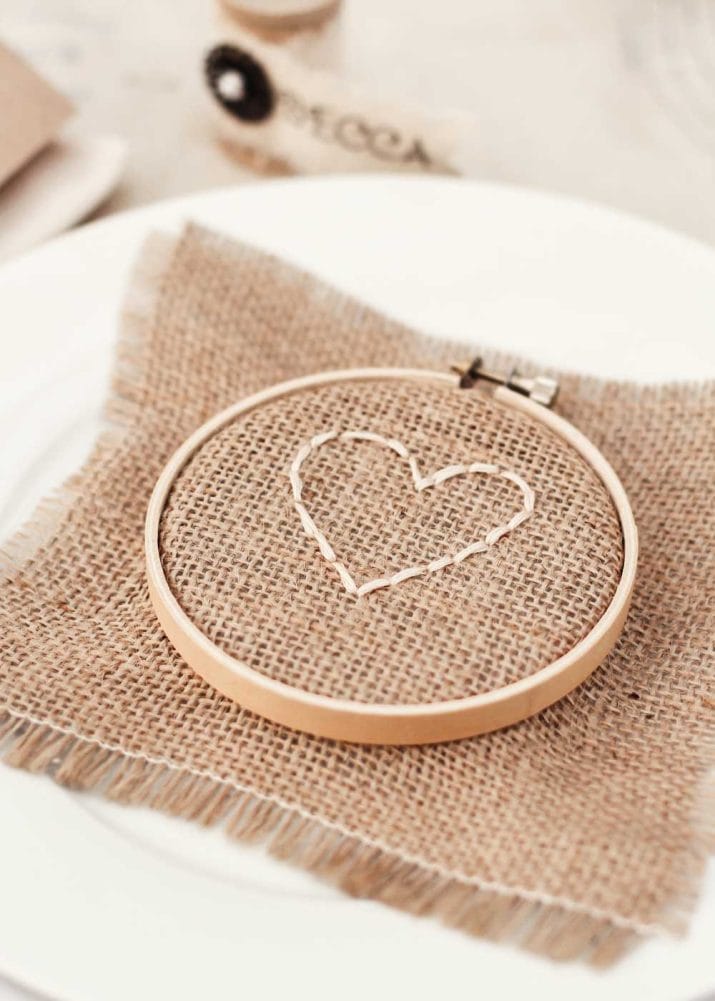
Set the table with basic white plates and top them with embroidery hoops outfitted with burlap squares with embroidered heart shape. I just eyeballed the shape and each one took about 5 minutes to complete.
Make place card holders with empty thread spools. Wrap them with canvas ribbon, metal embellishments, and iron-on transfers.
Place utensils in a brown kraft paper sack and dress it up with large canvas button shapes and measuring tape ribbon.

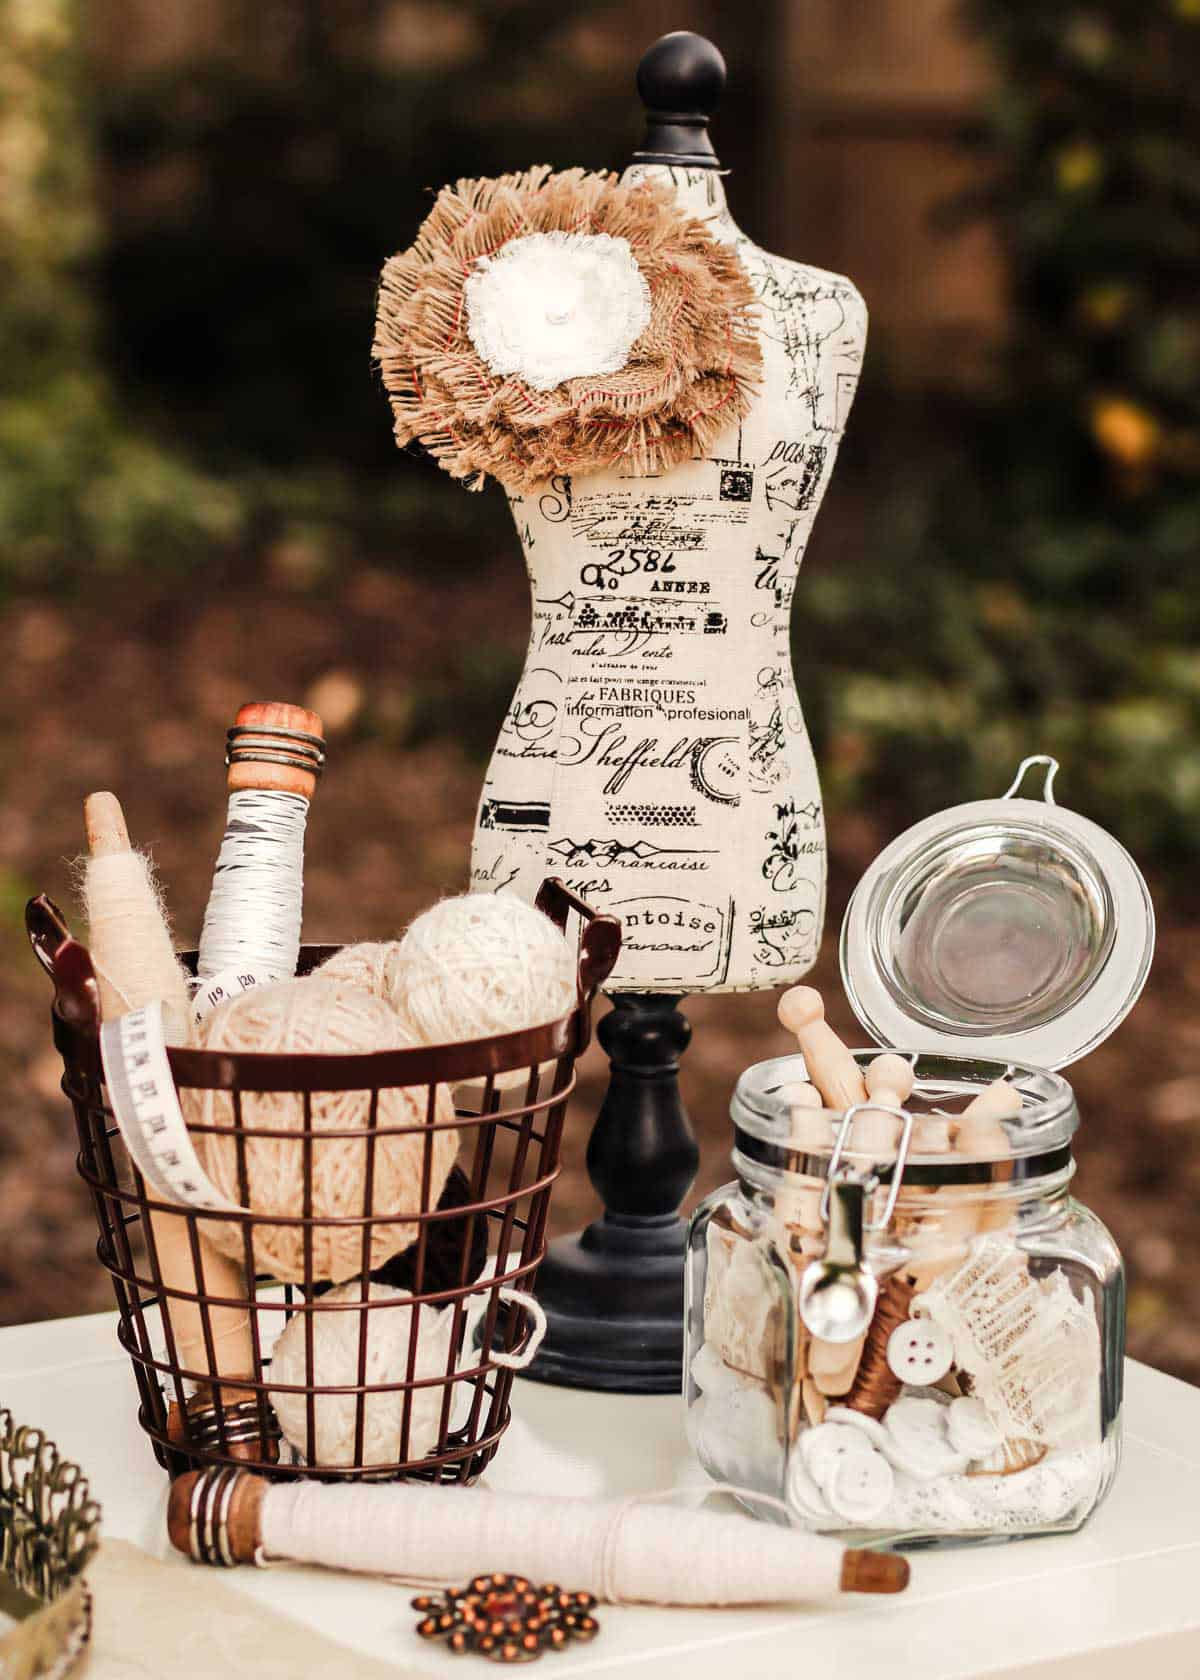
The centerpiece is a fun mix of shabby chic and vintage items. I wrapped the large spools with yarn and lace and just placed them in a freeform display. Add a collection of buttons, a felt heart-shaped ornament, vintage vase with small flowers, and a mini dress form to complete the vignette.
One of my favorite little details is the fabric swatch attached that says ‘Carol’s Bridal Shower.’ It’s simple to make using an iron-on transfer.
And since I can’t leave well enough alone, I belted the waist of the form with a canvas measuring tape that’s actually from the ribbon section. A fabric flower completes the look.
Party Decorations
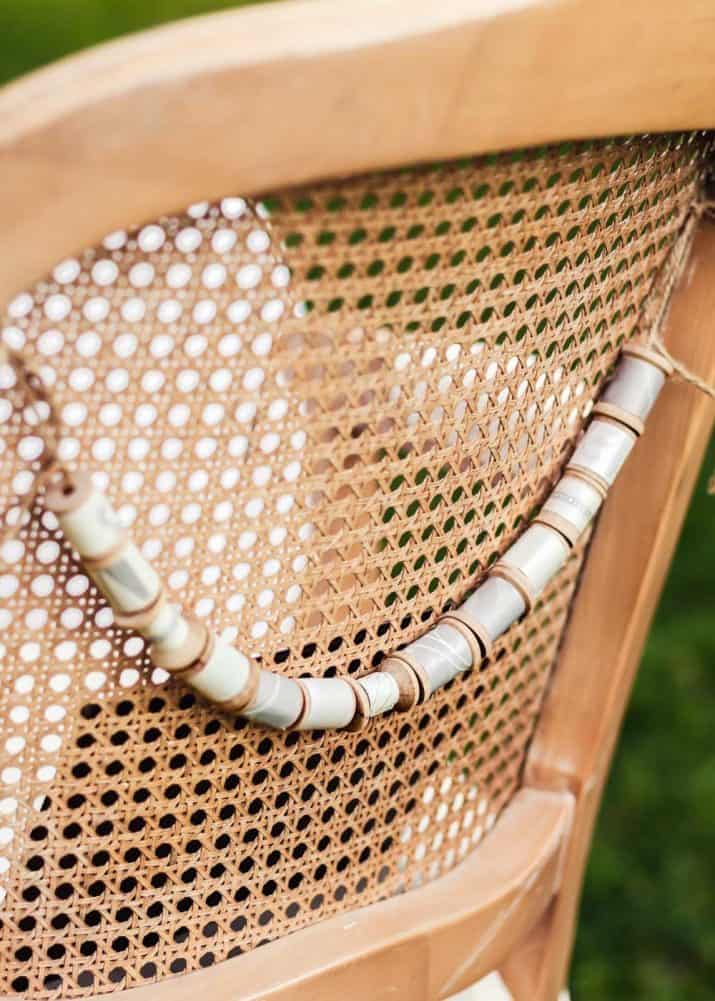
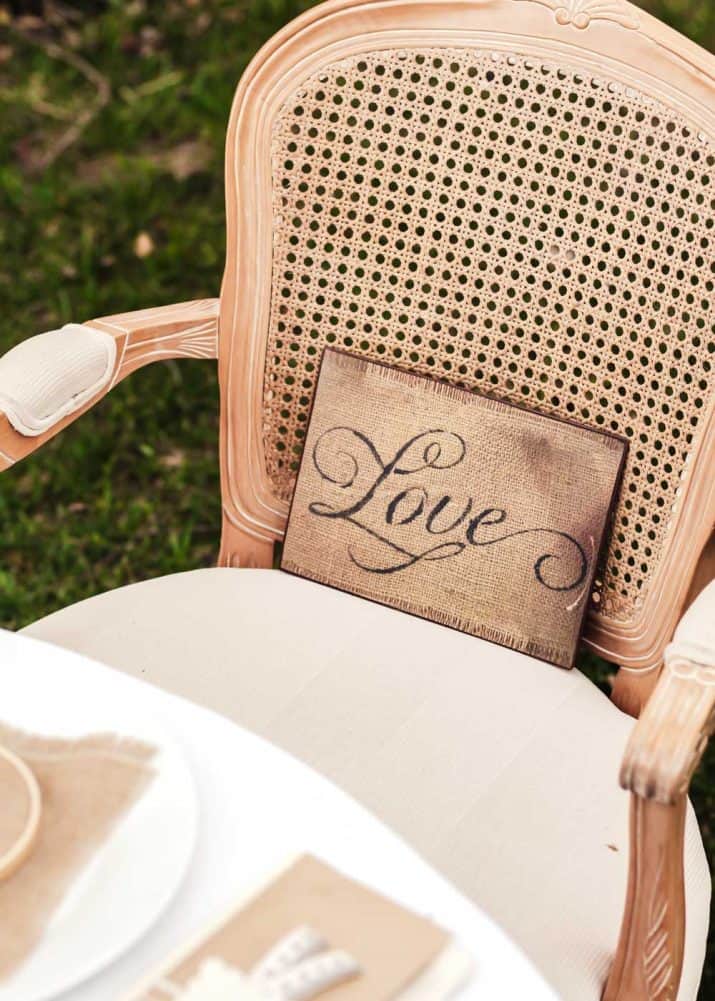
Make the bride’s chair stand out with a “love” sign, and DIY spool garland hanging across the back. To make the garland, simply string a bunch of empty spools onto twine, and then wrap each spool with a piece of coordinating decorative paper, or embroidery thread.

I set up two party display areas so they could serve as the bar and a place to hold favors. This is a good opportunity to bring out a table from indoors, and add charm to the shower.
Use another sheet of sewing pattern paper to casually drape over the table, and coordinate with the luncheon tablescape.
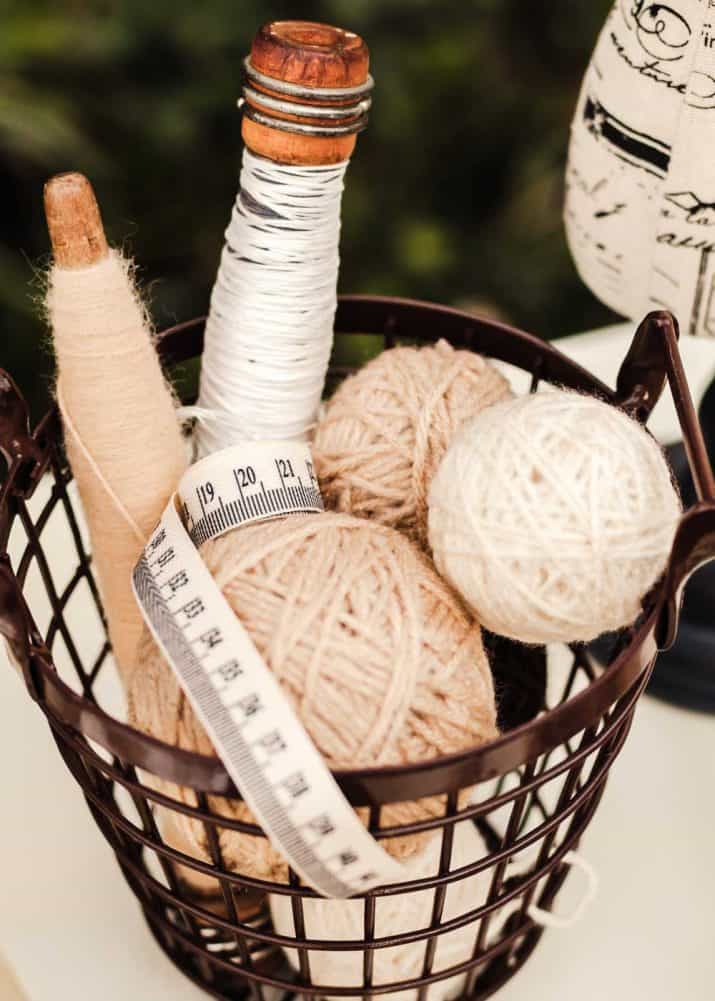

More decorations you can add are yarn-wrapped foam balls, vintage style clothespins wrapped with embroidery thread, jars of buttons and lace, or scrap fabric swatches.
The Bar
Set up a champagne bar to welcome your guests. Include several juices so they can make mimosas. Provide sparkling mineral water for those who don’t drink alcohol but still want to mix a sparkling juice beverage.
Serve bacon wrapped dates as an appetizer to nibble on before the meal as guests sip on the mimosa.
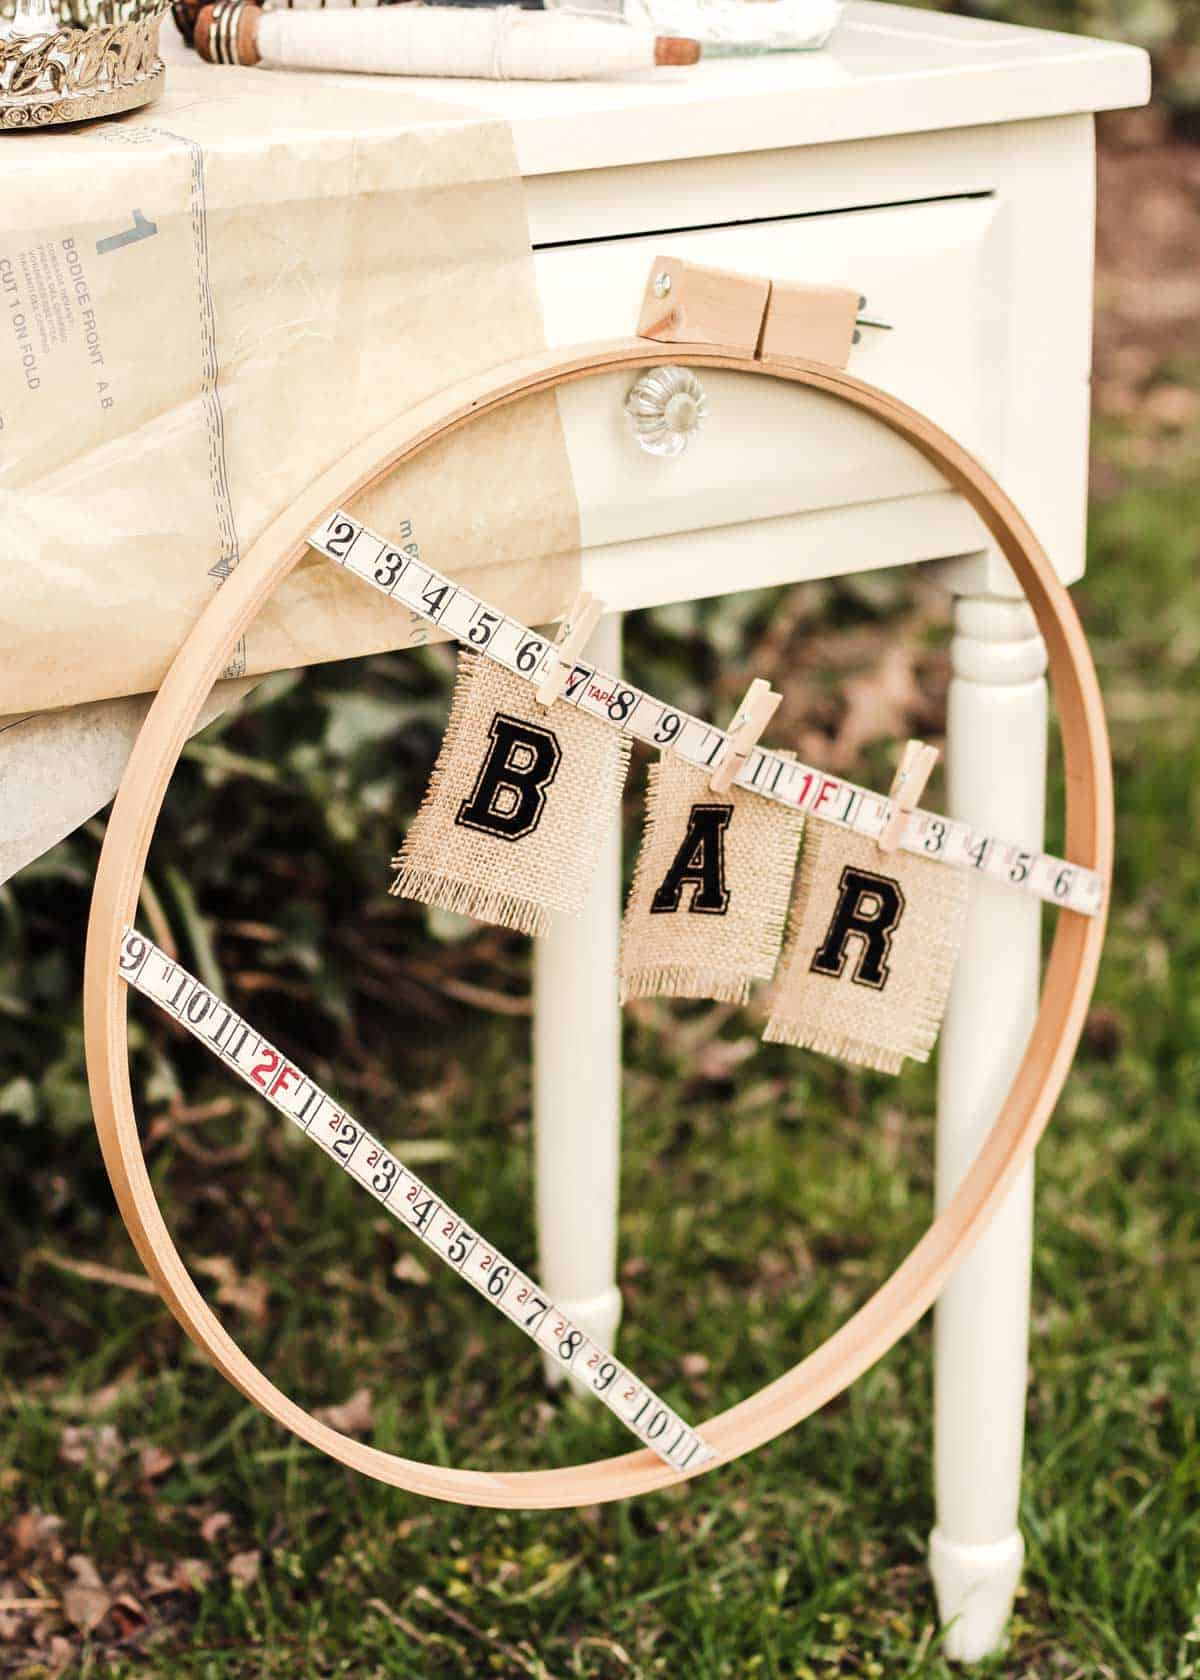
I made a bar banner with leftover burlap and canvas measuring tape. For the letters I used – you guessed it – iron on transfer letters!
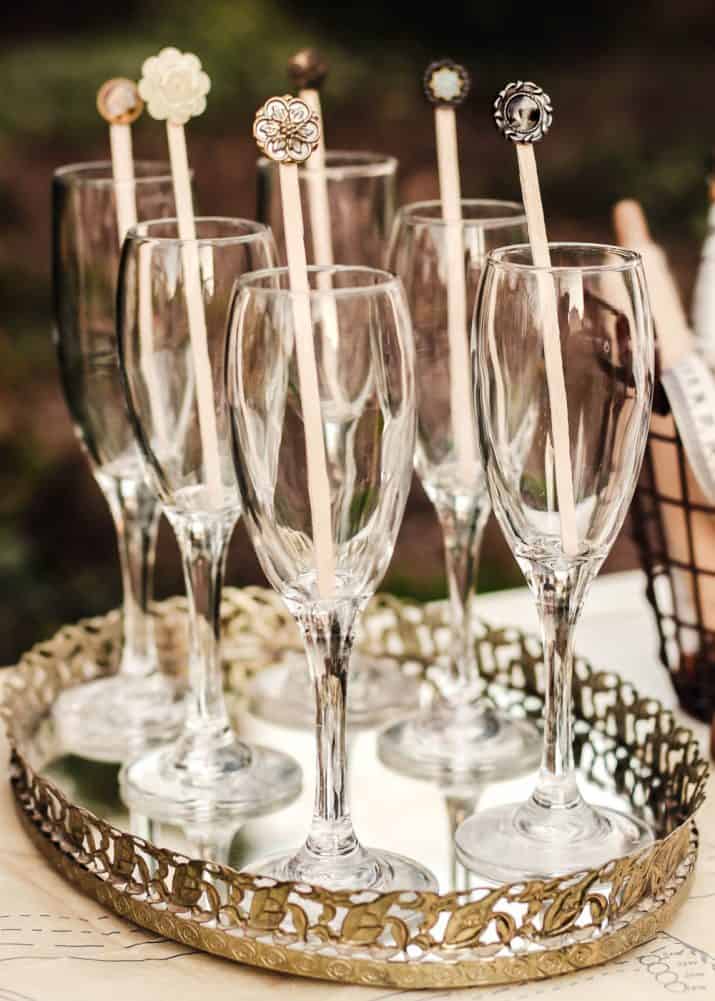
Make DIY drink stirrers with wooden stir sticks and vintage looking buttons. Just adhere them using glue dots. Place them in fluted glasses lined up on a shabby chic tray.
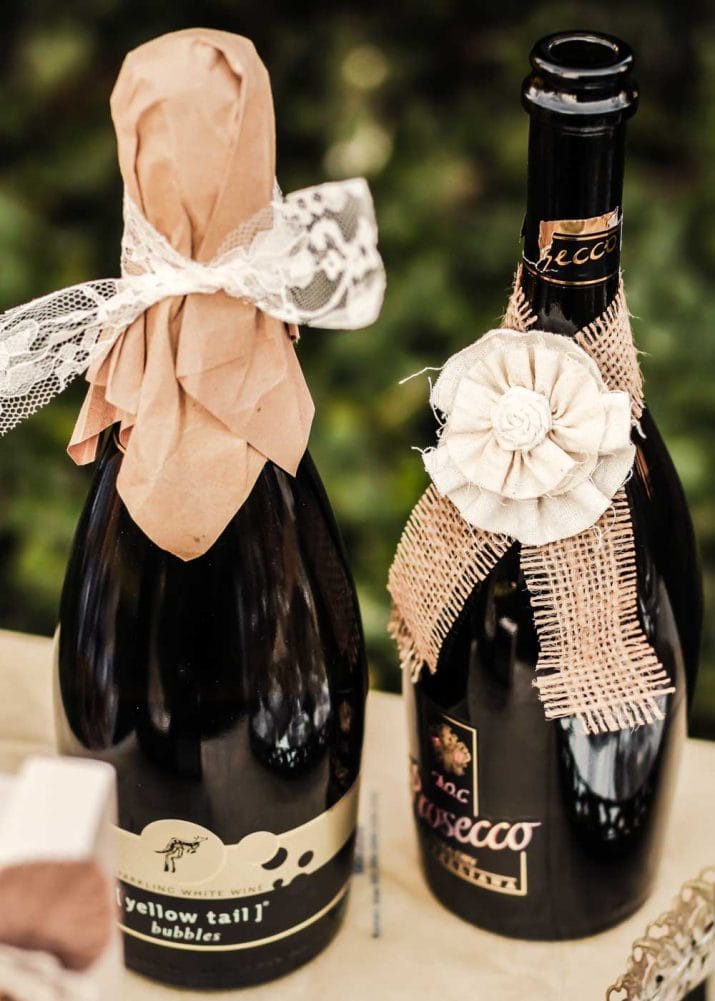
Dress up champagne bottles with various materials that are used throughout the party design: fabric flowers, burlap strips, lace, brown kraft paper. I love the look of the kraft paper molded to the top of the bottle.
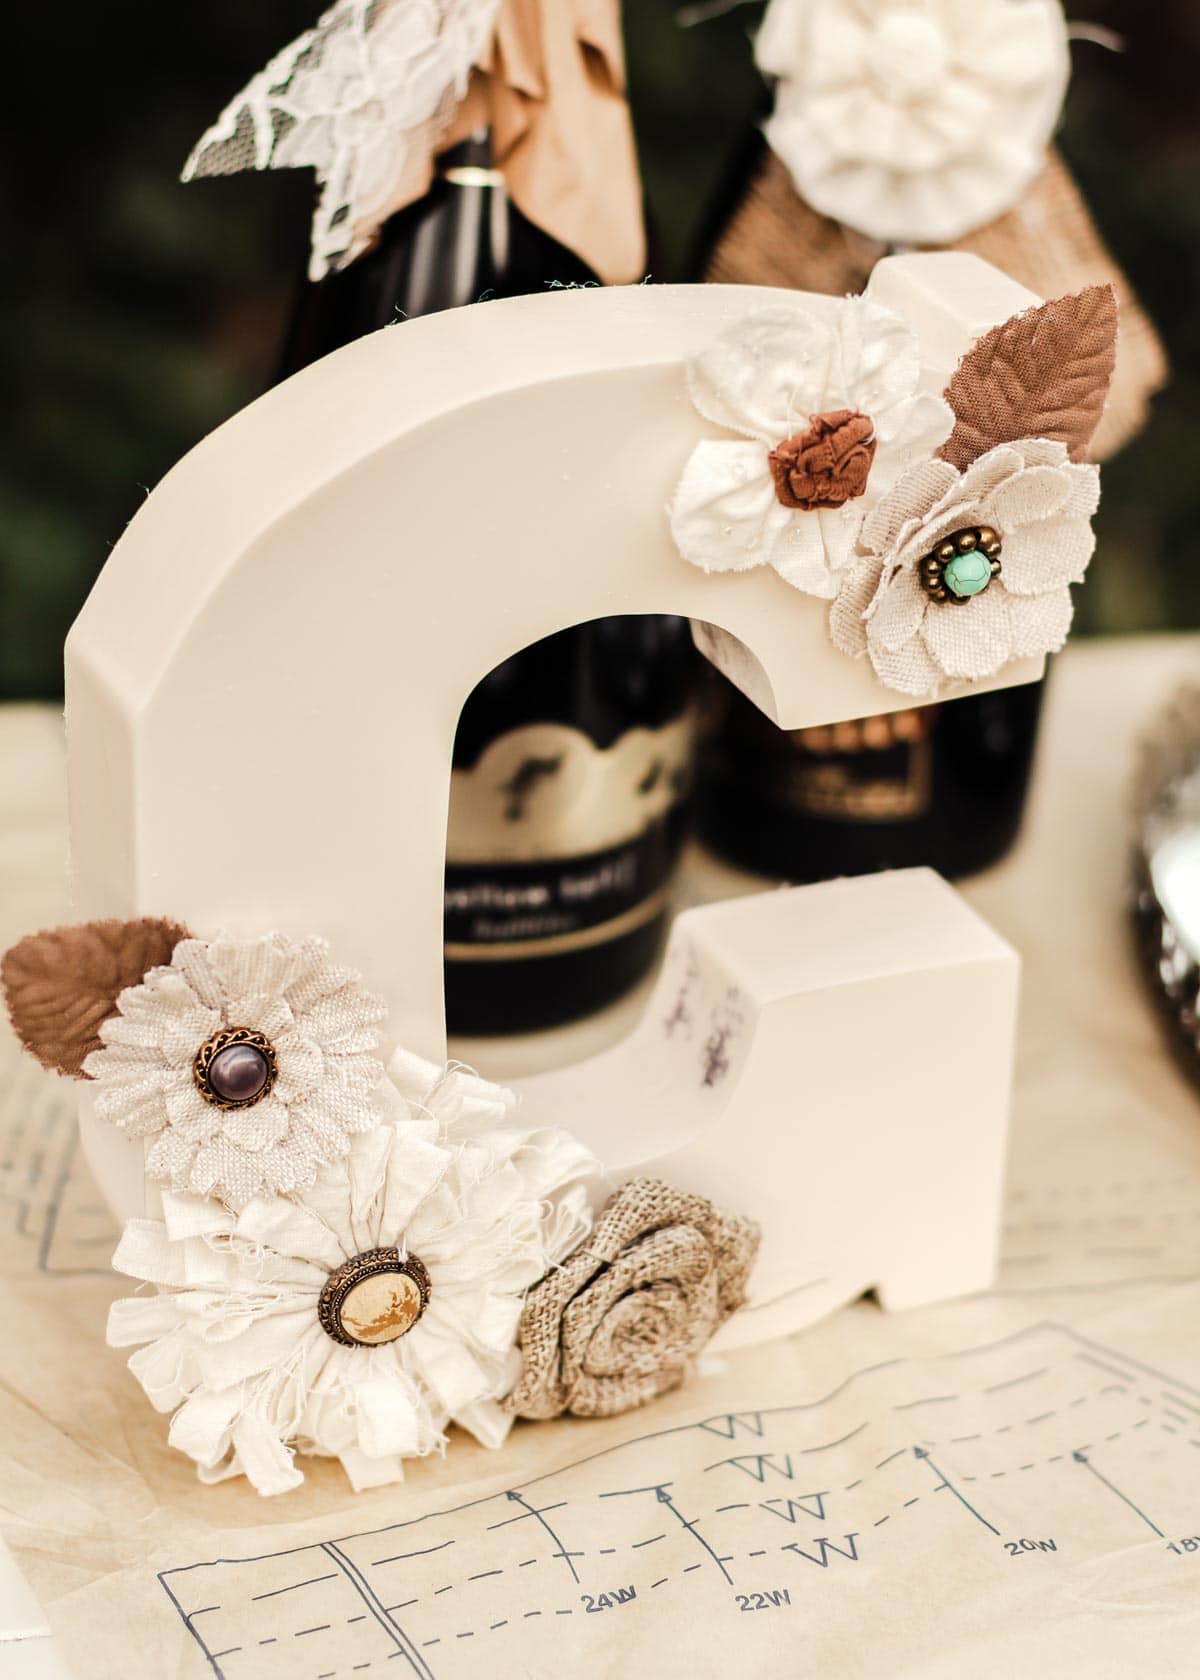
Using monograms in a party that celebrates a guest of honor is an easy but personal detail. Spray paint a wooden letter and after it’s dry dressed it up with more fabric flowers. They attach with Glue Dots or hot glue.
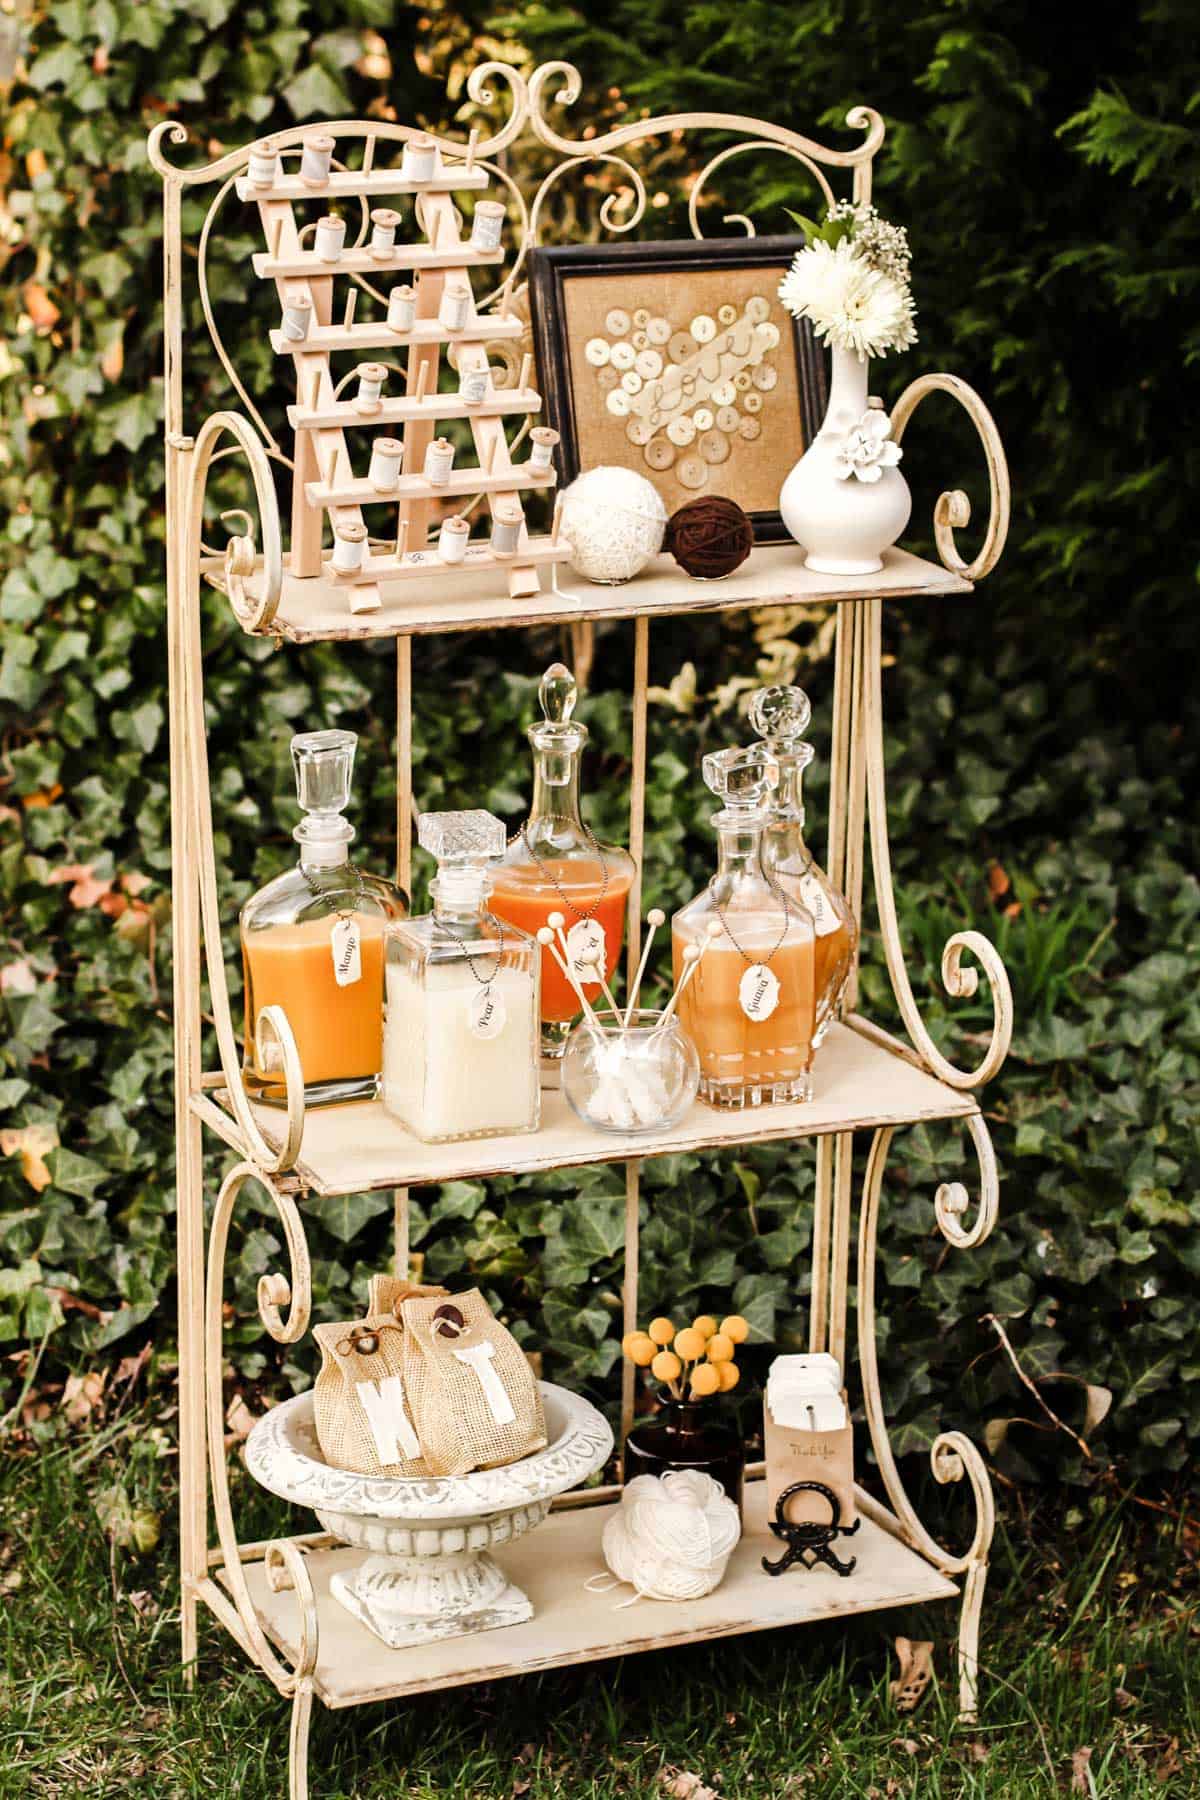
For the second display area I used an open metal garden shelf to hold the juices and the party favors. The shelf adds height and balance to the party decor.
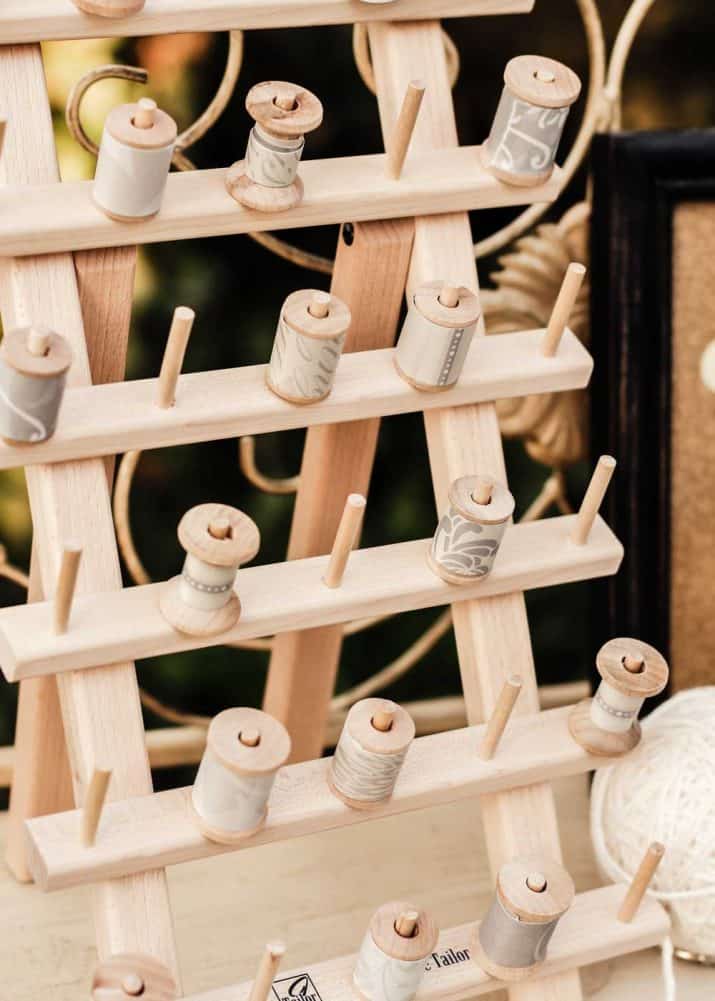
I added a small spool display that can also be used for a fun activity for guests. Write a number on the bottom of each spool and let guests grab one as they arrive. During the shower, pick 2 or 3 numbers at random to win a prize.
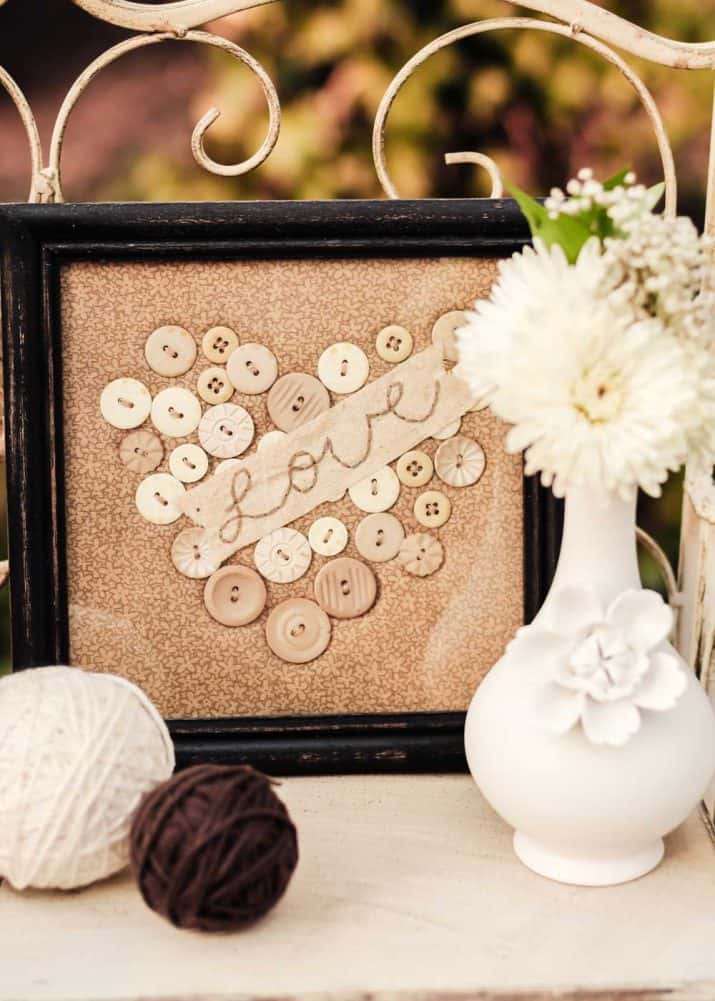
The “love” button sign is an unexpected treasure I found at a local store and had to have it since it fit right in. To make a DIY version, wrap fabric around the cardboard backing in a frame and glue or sew on buttons in the shape of a heart. Embroider the work LOVE on a thin piece of muslin and tack it on the front. It’s that easy!
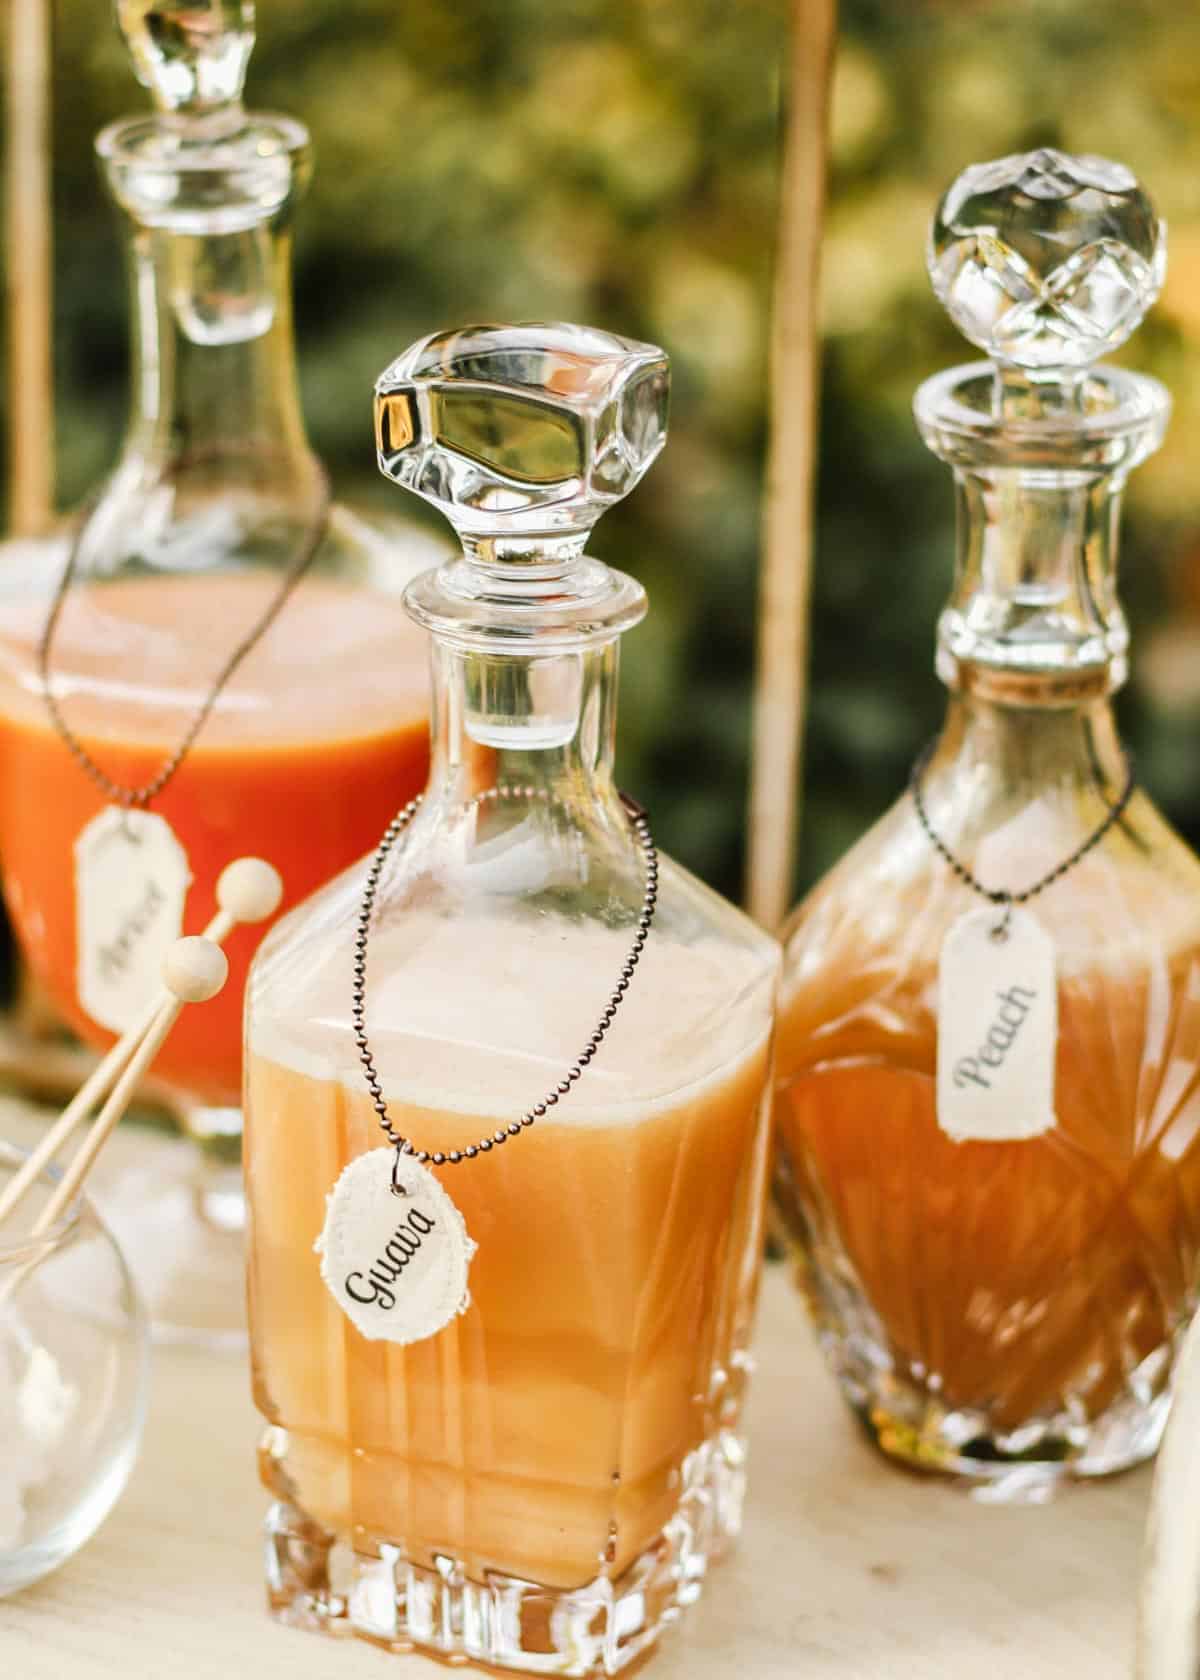
Serve various juices in pretty glass decanters that would typically hold liquor. The flavors are mango, pear, peach, guava, and apricot, and they’re juice nectars I found in the Mexican food section of the grocery store. They make the best champagne add-ins! Add rock candy sticks for fun.
Make DIY necklace labels to identify each juice flavor. It’s a simple project using canvas tags with iron on transfers (seeing a theme here?) and ball chain.
Themed Party Favors
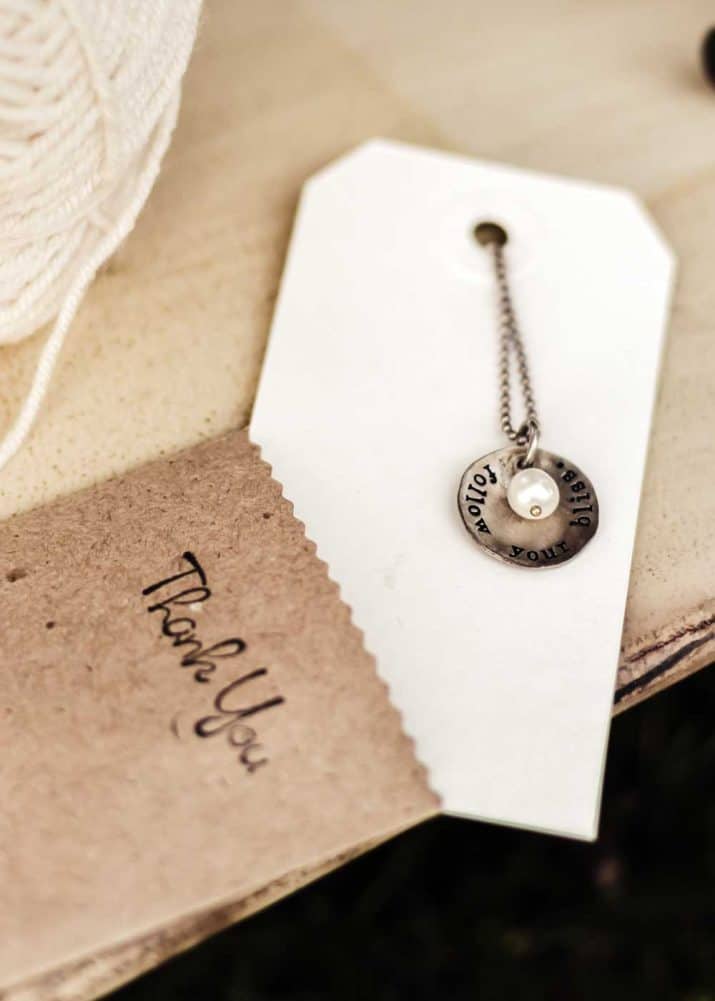
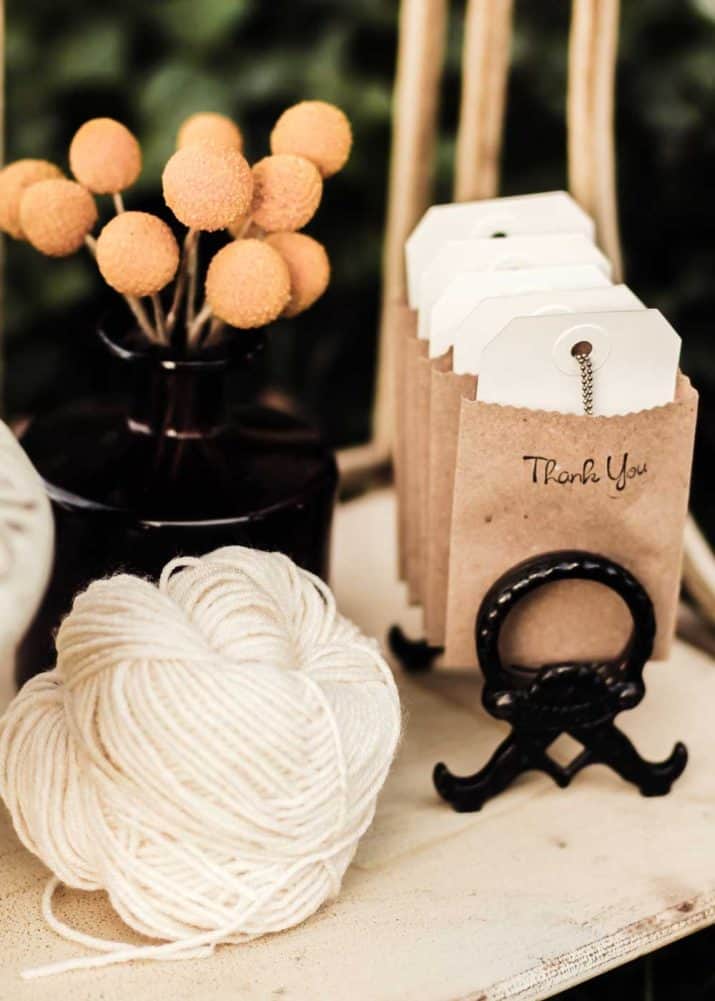
Set up a shelf to hold guest favors or bridesmaids gifts. In this case the gifts are handmade nacklaces that I displayed on a hang-tag card and placed into a paper sack.
Stamp the words “Thank You” on the sacks and slide them into a vintage mail holder.
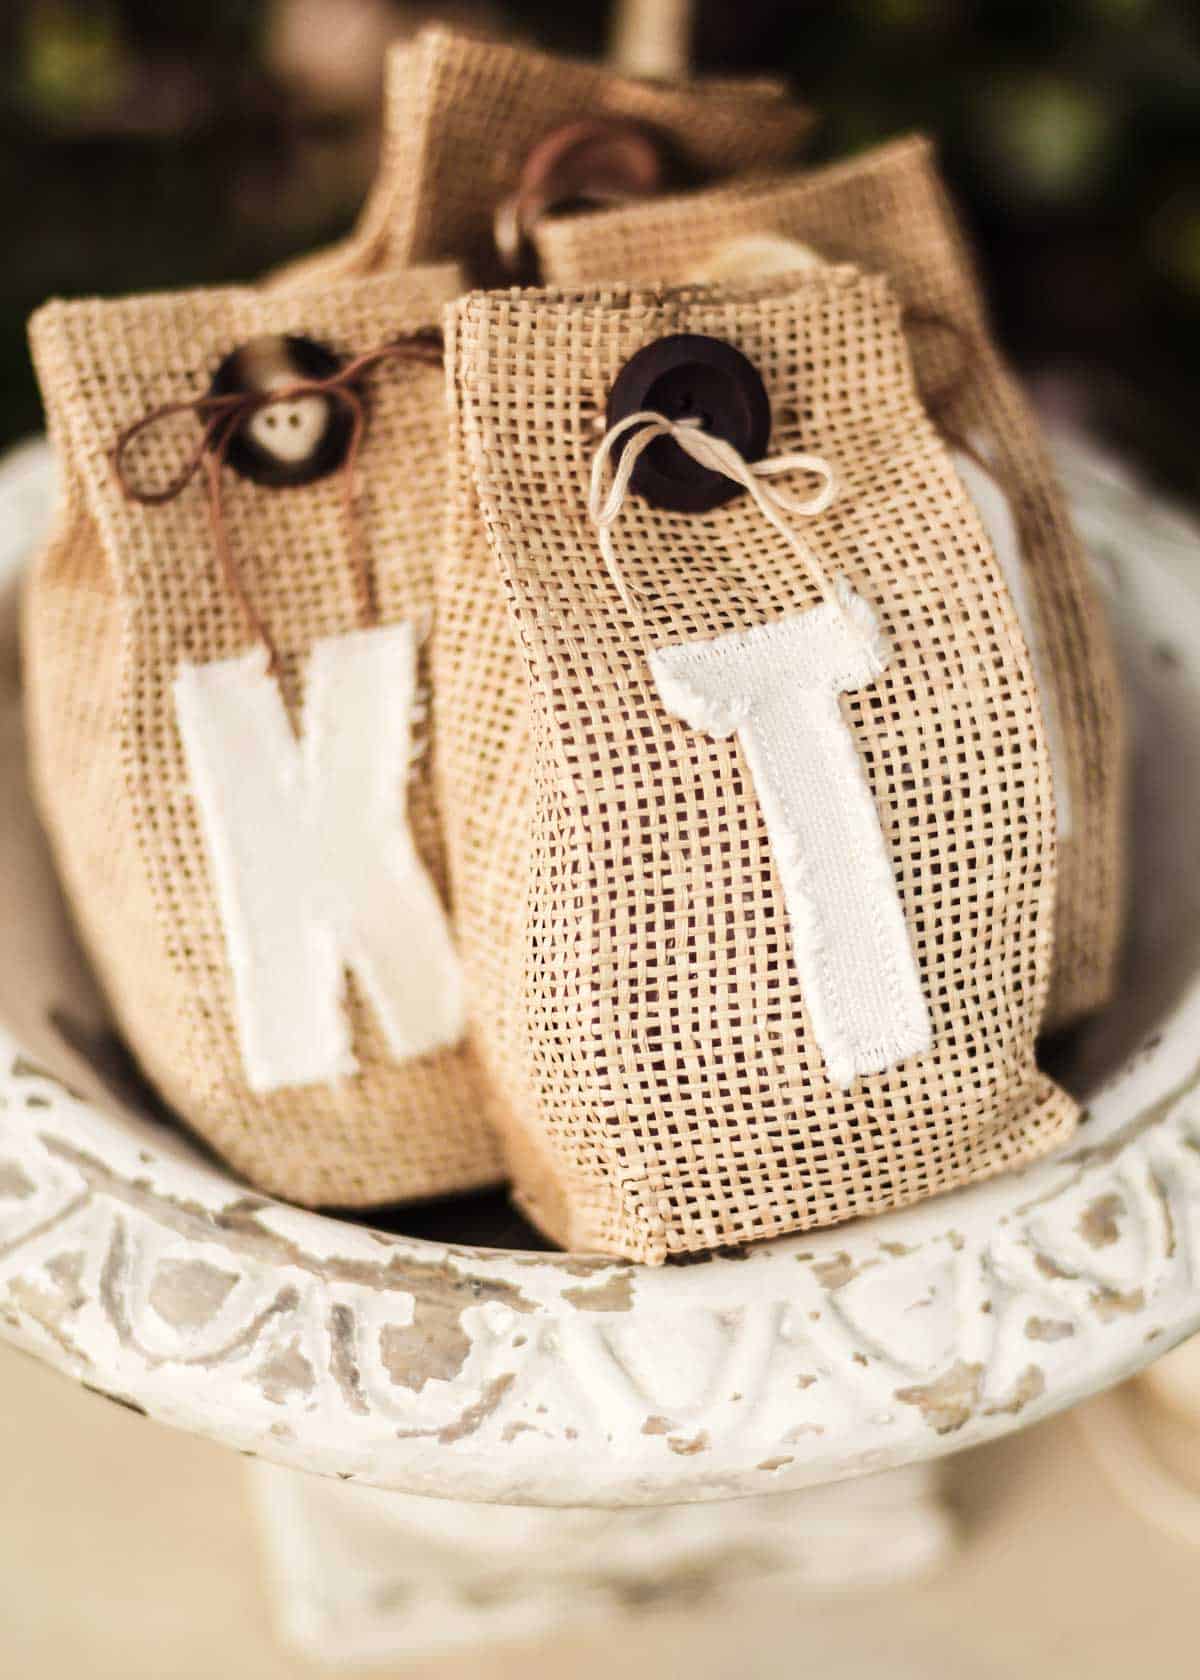
Display party favors creatively. Fill canvas or burlap bags with candy, wild flower seeds, handmade soaps or jams, or edible treats. Add each guests’ monogram to the outside. That way they can keep it and use it for other things.
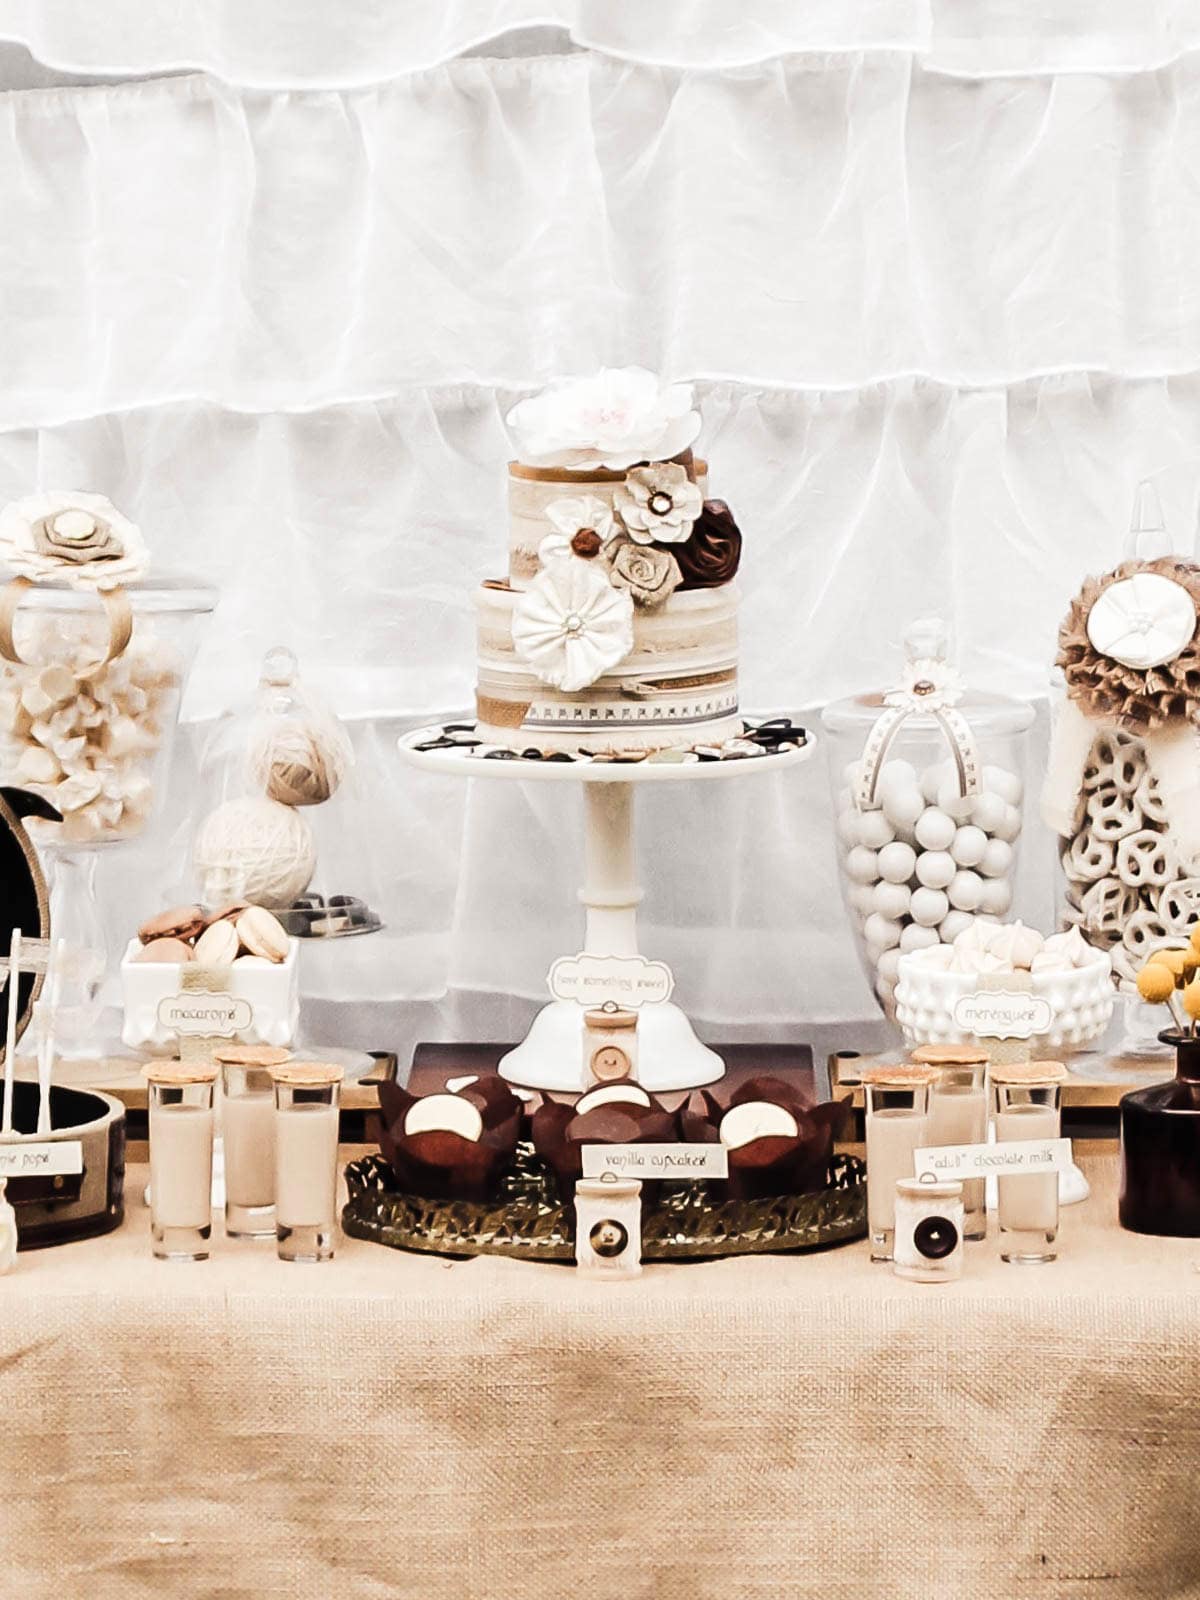
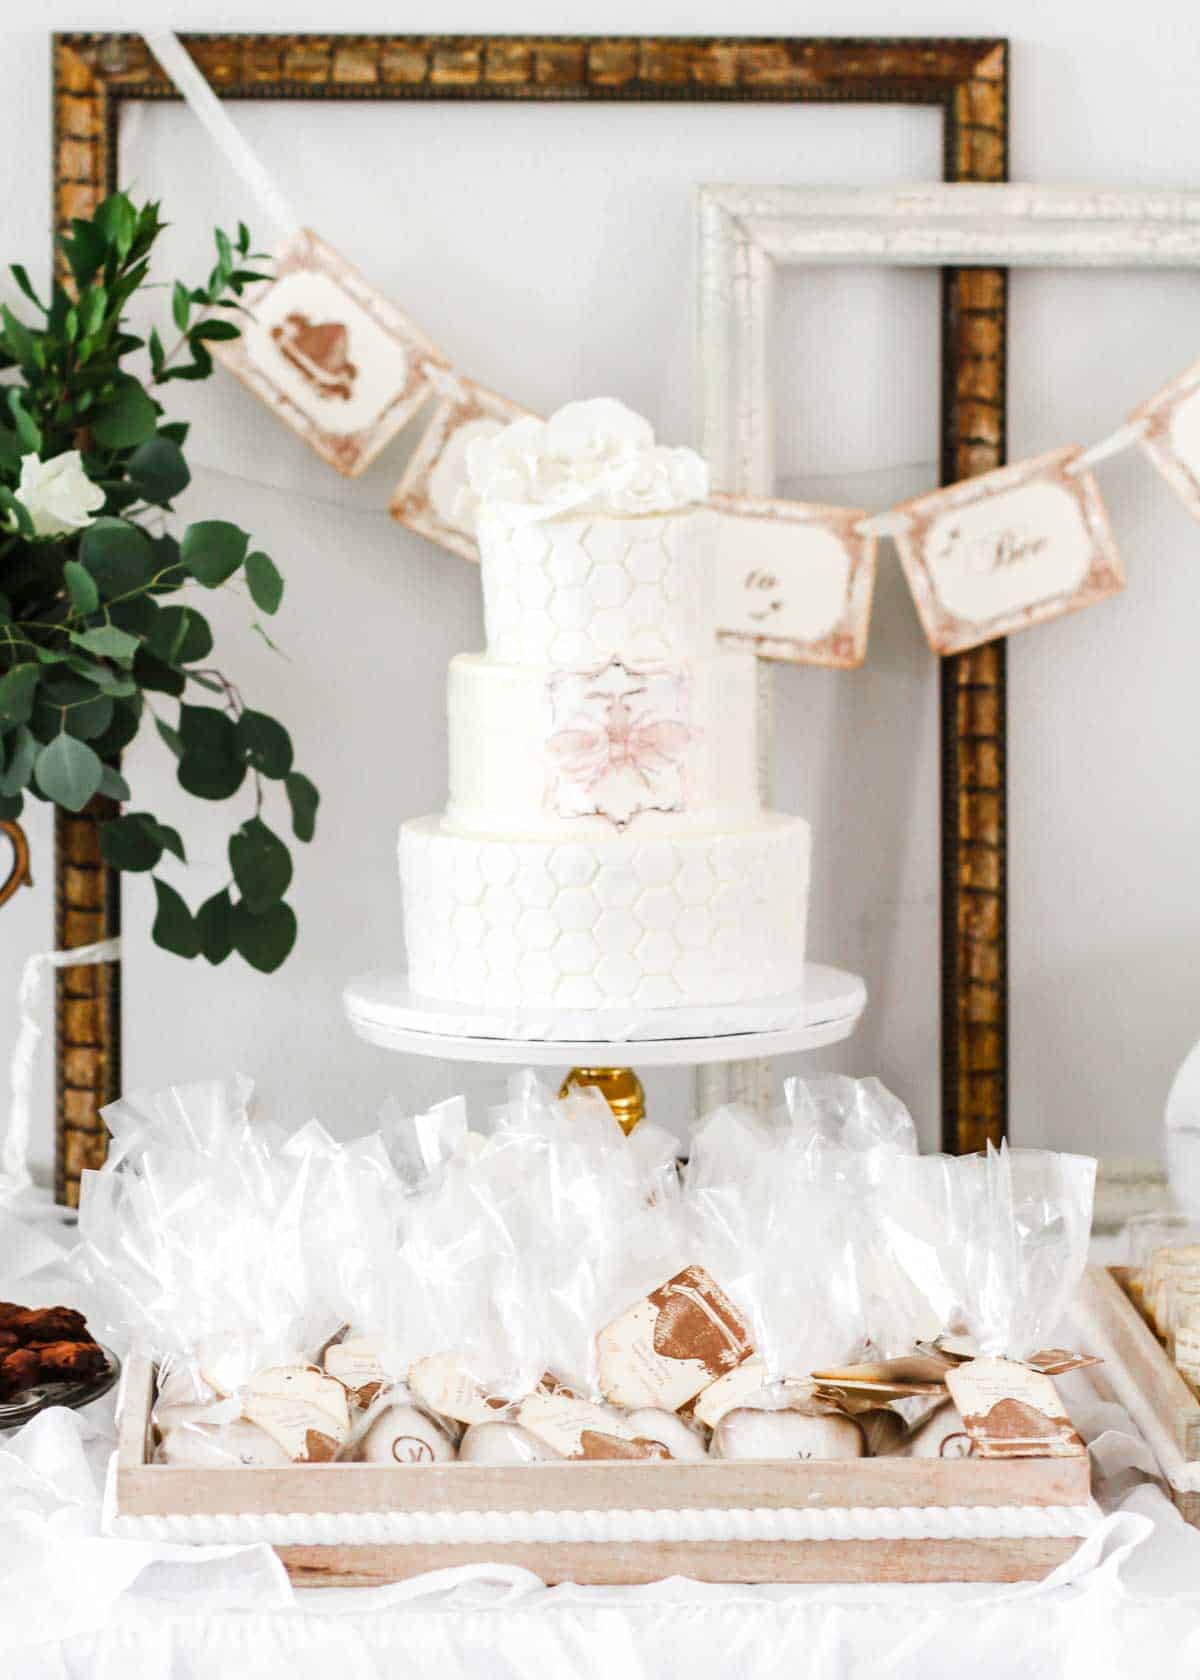
Food Table
Set up a shabby chic dessert table that coordinates with the rest of the party. The table decorations can be used to display a luncheon buffet or an appetizers party, too.
More Bridal Shower Themes
As I said above, shabby chic style coordinates beautifully with a vintage themed bridal shower and the decorations can be used interchangeably in most cases.
There are more shabby chic touches in this Meant To Bee theme shower, and fun retro vibes in this Retro Kitchen Recipe themed shower.
Now you have tons of DIY ideas for a shabby chic bridal shower including decorations and design, activities, drinks, and favors. Start planning for the bride-to-be, now!
If you like this post, PIN, Share, or sign up for our Newsletter at the top of the page. And don’t forget to follow CAH on Instagram or Facebook. Cheers!


This is so much fun! So many ‘craft lovers’ out there would have a blast at this type of shower. Keep the creativity coming, Chris! 🙂
Hi Chris! Kim here from the SITS Girls Tribe Challenge. It’s so nice to “meet” you! I have spent a little time wondering around your blog and am so excited to see all the wonderful ideas you have created. This bridal shower is so awesome. I just love when you find something at the Thrift Store and know it’s perfect, but not sure for what yet. I love that you created a whole party all around one great find. I can’t wait to see more of your great ideas and get to “know you” better!
Hi stranger! This looks awesome! I’m sure you had tons of fun putting the details together! Looks amazing!
Well, Hello! Thanks for the sweet comment. It was a lot of fun!
Completely adorable! Love the place card holders and favor bags, Chris! What a wonderful shoot…
LOVE THIS! Stealing some ideas for my daughter’s pre-prom dinner next week at our house,
Love this concept and all of the clever and creative touches. It really inspired me!
Whoa. From the embroidery hoops to the drink stirrers to the drink labels… you had me pulled in full force! 😉
Absolutely one of my faves of yours!!! LOVE each crafty detail!! No wonder took so long – It’s PERFECTION!!! ♥
I love this Chris!!!!! Such a brilliant concept and I LOVE all the details and the neutral color palette. If I can share on my own blog, please let me know. Excited to see more from the shoot.
This is incredibly creative. I love the balls of yarn, spools on the table and the whole bar set up. It’s simply beautiful and as always has so many great ideas . Very inspiring! Thanks for posting 🙂
Absolutely love every little detail. The colour palette is so pretty and all the elements co-ordinate beautifully. Amazing work Chris xo
Definitely going to wrap my wine bottles up with burlap and lace next time I give one as a gift! Love all your details.
L O V E!!!! The details are beautiful!! Love all the hand sewn details and the stir sticks, thank you bags, vintage clothes pins {I could go on and on}!! Gorgeous, my friend!! I wouldn’t expect anything different!! 🙂
Adorbs!!!! Love the spools, and the burlap – love me some burlap – the favor bags are too darn cute! Love it all – and SHARED!
This is just GORGEOUS! Love all the details. That button heart “love” frame is so awesome and I love all the yarn and burlap used throughout. Beautiful!
Thank you, sweet Michelle. I wish I had made that ‘love’ button frame! ….but I did do a LOT of wrapping of yarn and thread 😉
Oh. My. Word. It’s gorgeous! I knew it would be right up my alley- I have those same vintage large spools and just use them as office decor because I “had” to have them, then didn’t know what to do with them. Love all the hand sewn details!
Awesome! I am so drawn to vintage details, I just can’t help myself. I guess we can use them as pedestals from now on…
This is so so pretty! That bobbin chair garland is a great idea!
Thanks you guys! xoxo